


.")


 will come and get me from the waiting room.")


 will come and get me from the waiting room.")


© 2025 Kramer Davis Health. All Rights Reserved.
PATIENT EDUCATION
Discover Everything You Need for Your Healthcare Experience.
Welcome to our Patient Education page! Here, you’ll find essential resources to guide you through your healthcare journey. Start with our Virtual Tour Video to get an inside look at our facilities and services. Our Appointment Walkthroughs visually explain what to expect during your visits. Then, learn how to navigate our online Patient Portal with ease using our step-by-step instructions. These guides will help you feel confident and prepared for your appointments and manage your health information effectively.
https://www.youtube.com/watch?v=3KlTdYWxqWc
Kramer Davis Virtual Tour
4:54 duration
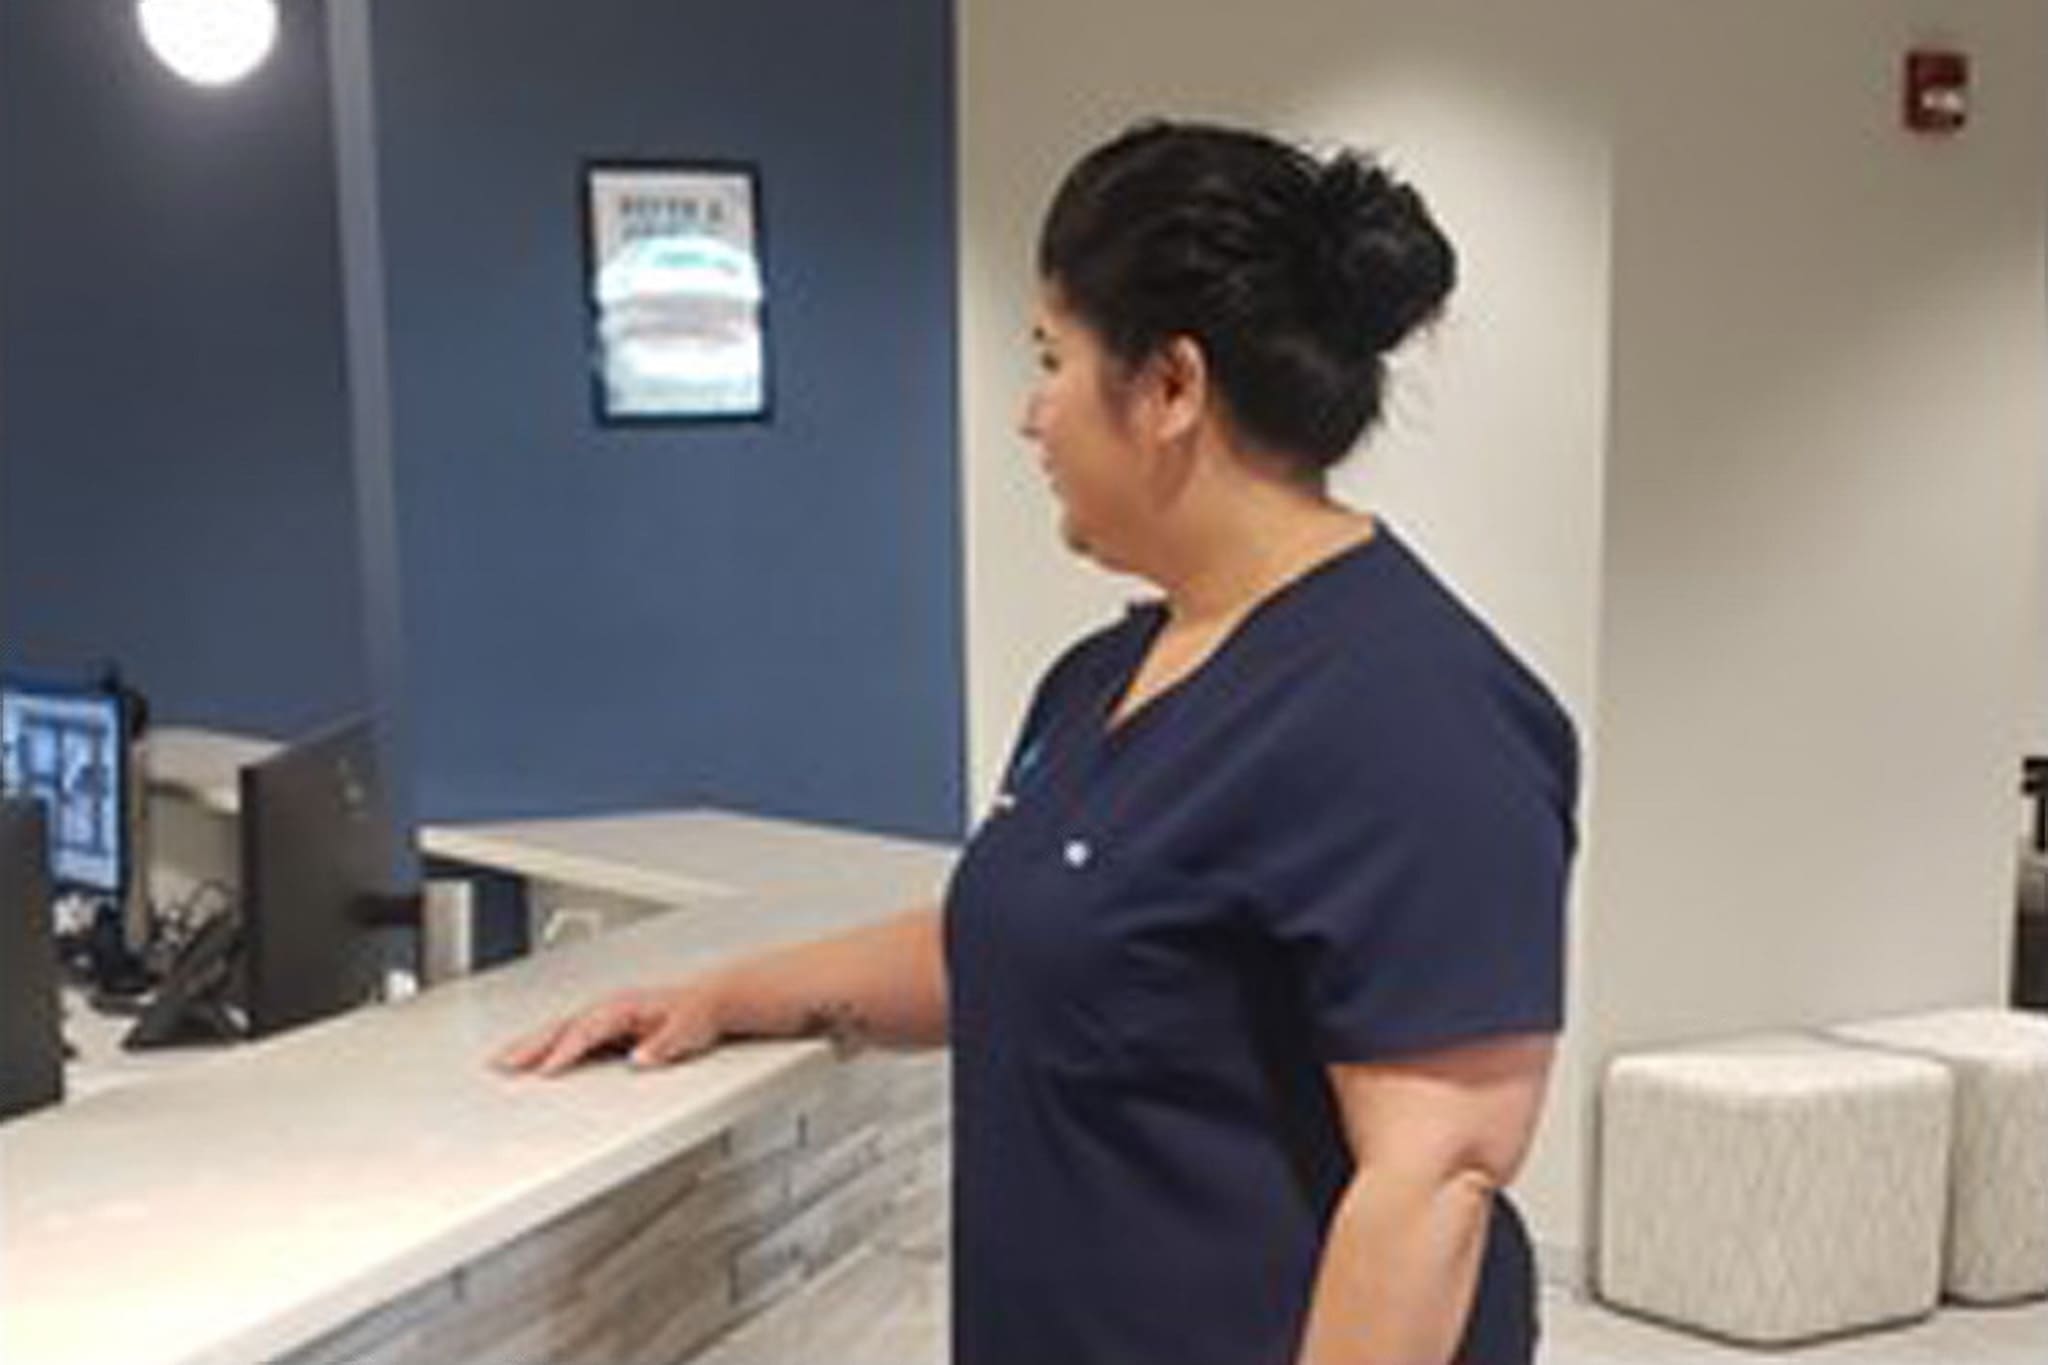
Appointment Walkthroughs
Our Appointment Walkthroughs provide a visual guide to what you can expect during your visits. These step-by-step guides help familiarize you with the process in advance, ensuring you feel confident and prepared for each appointment.
- Medical Appointment
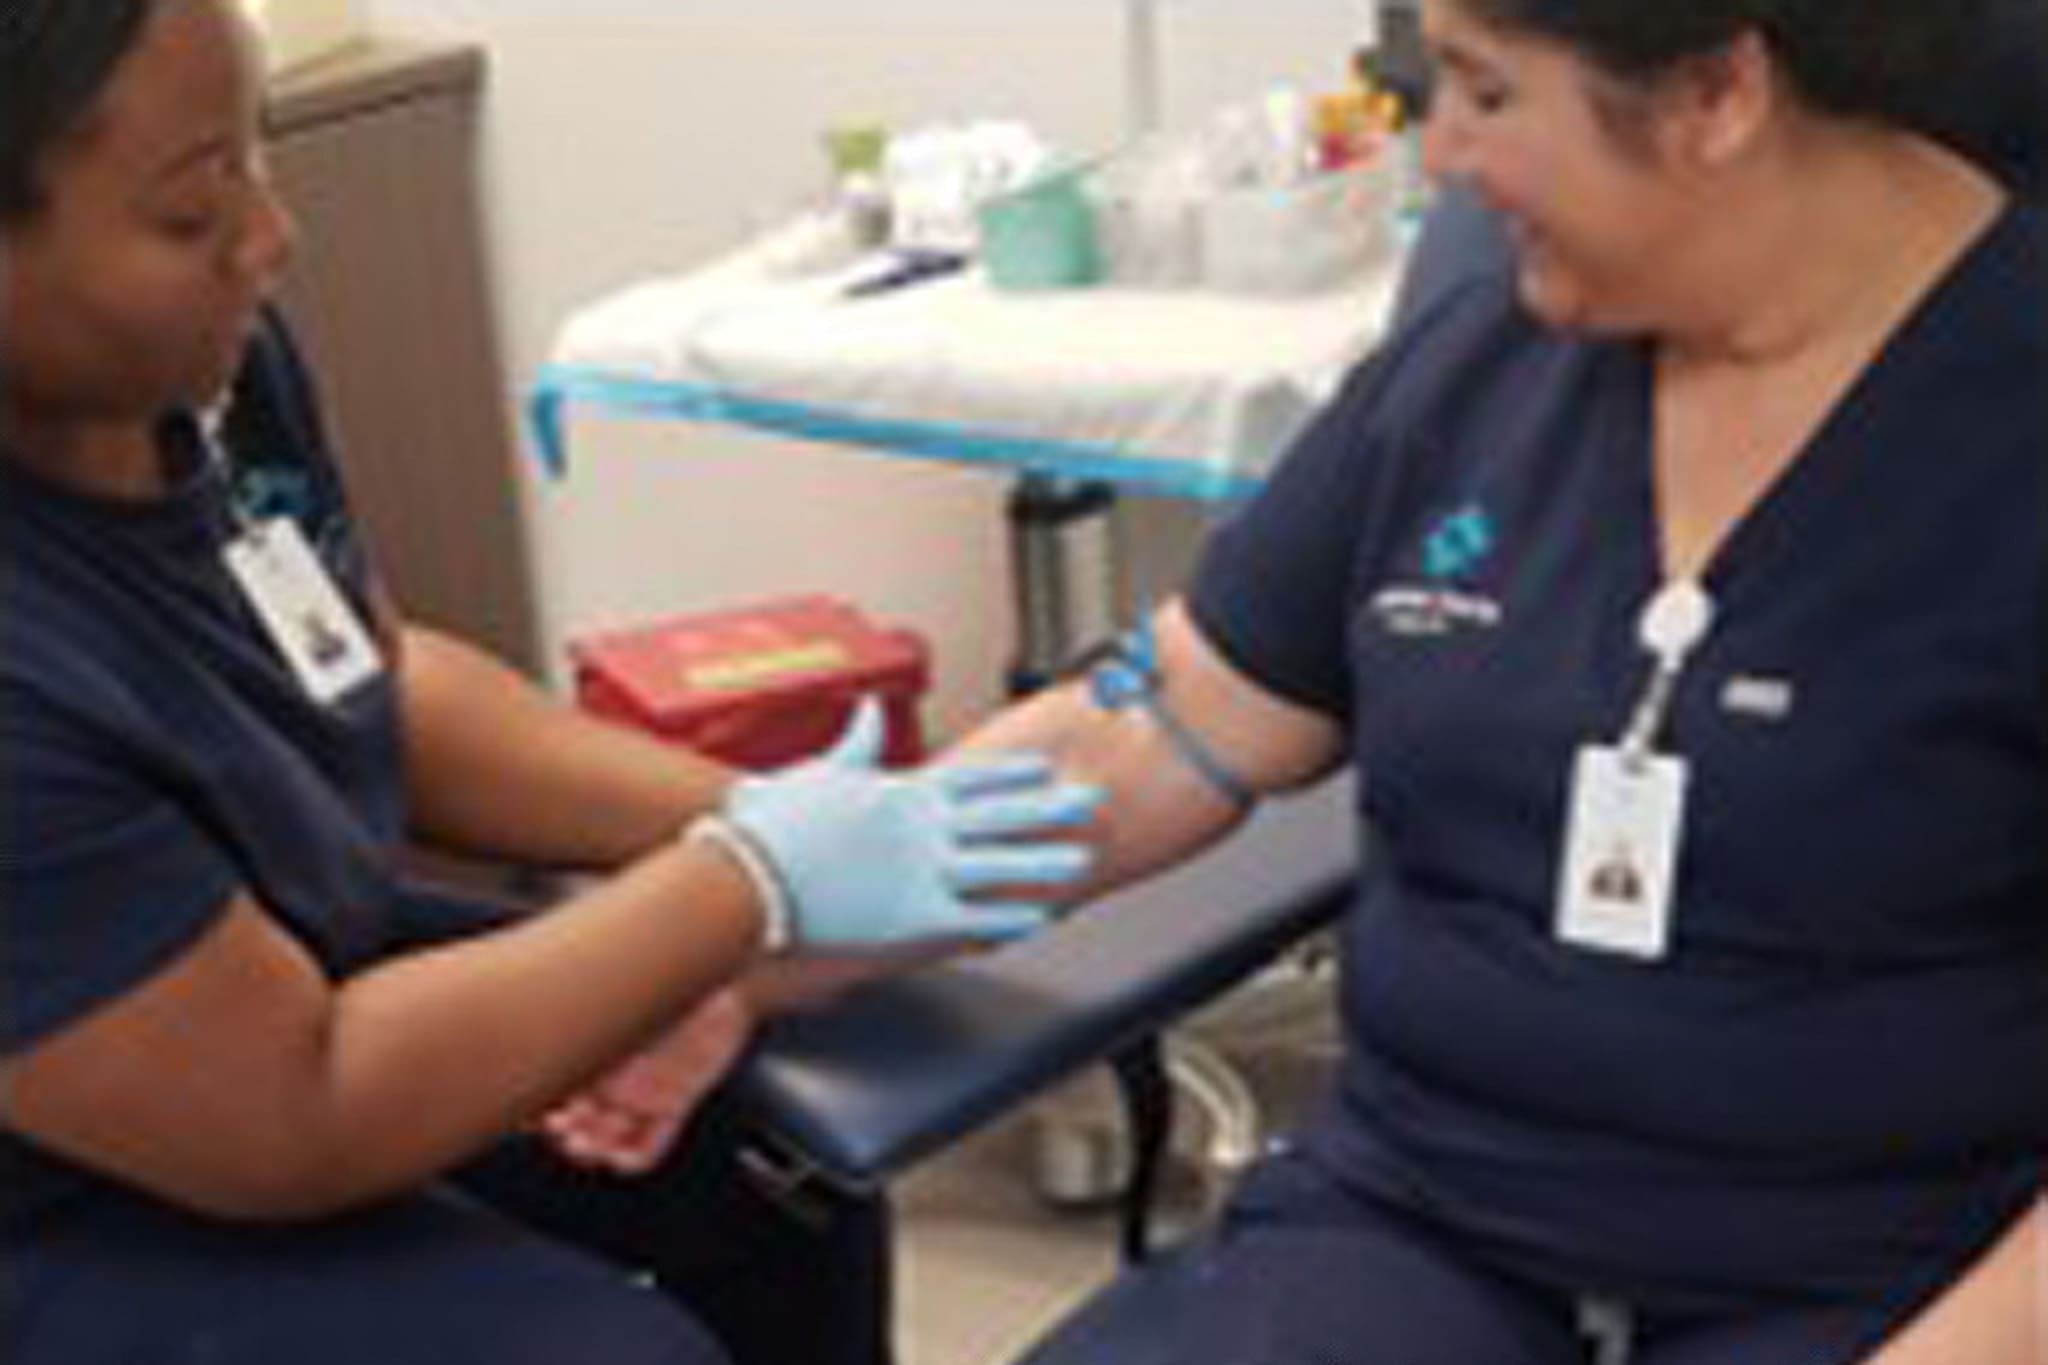
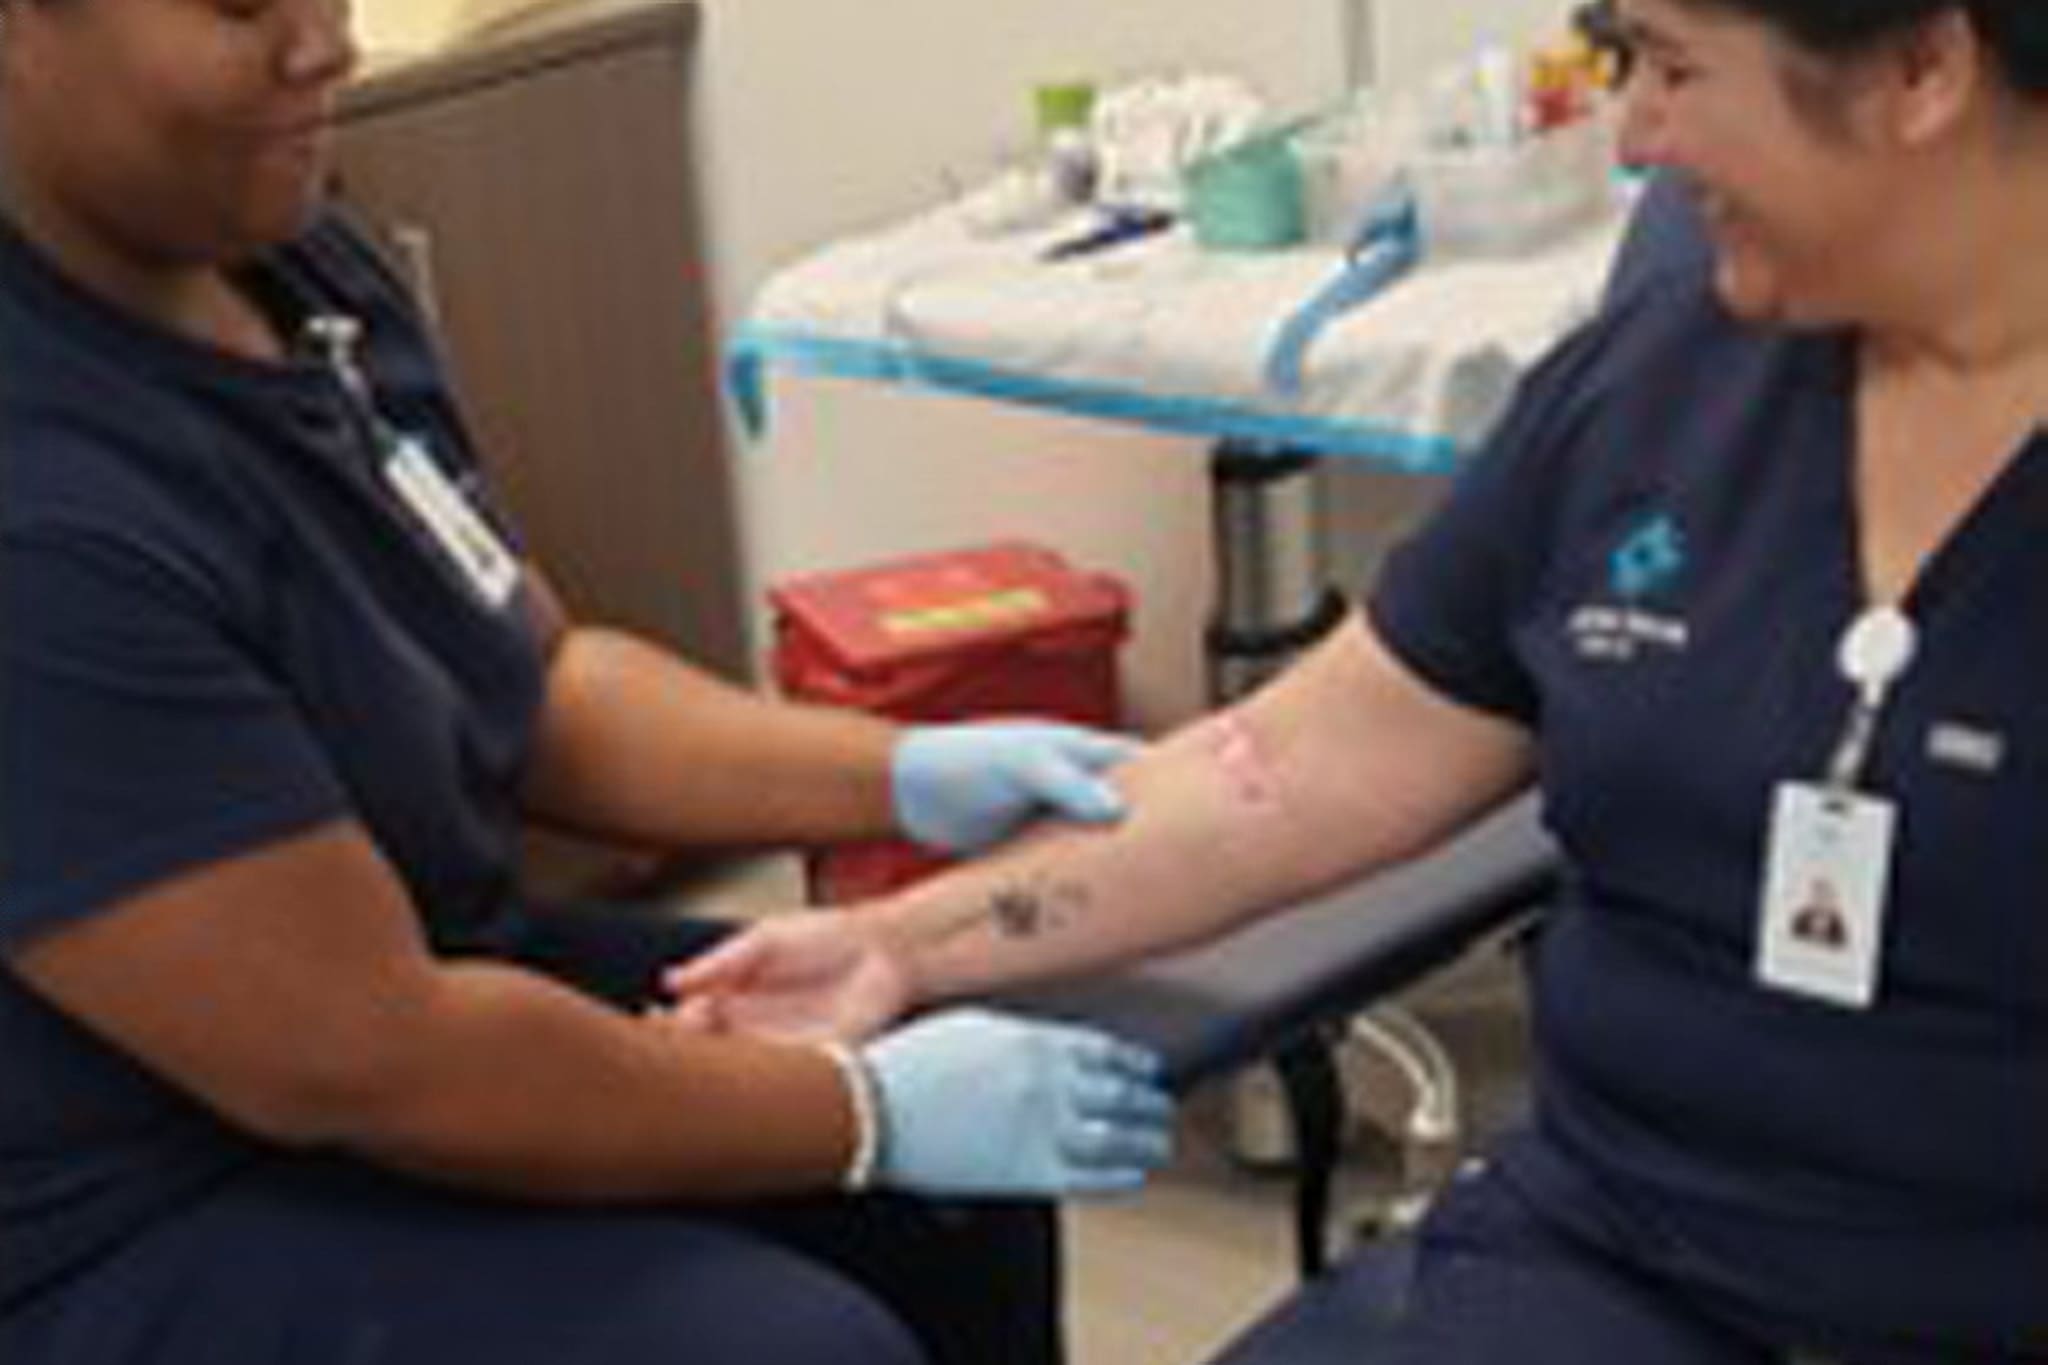
- Blood Draw
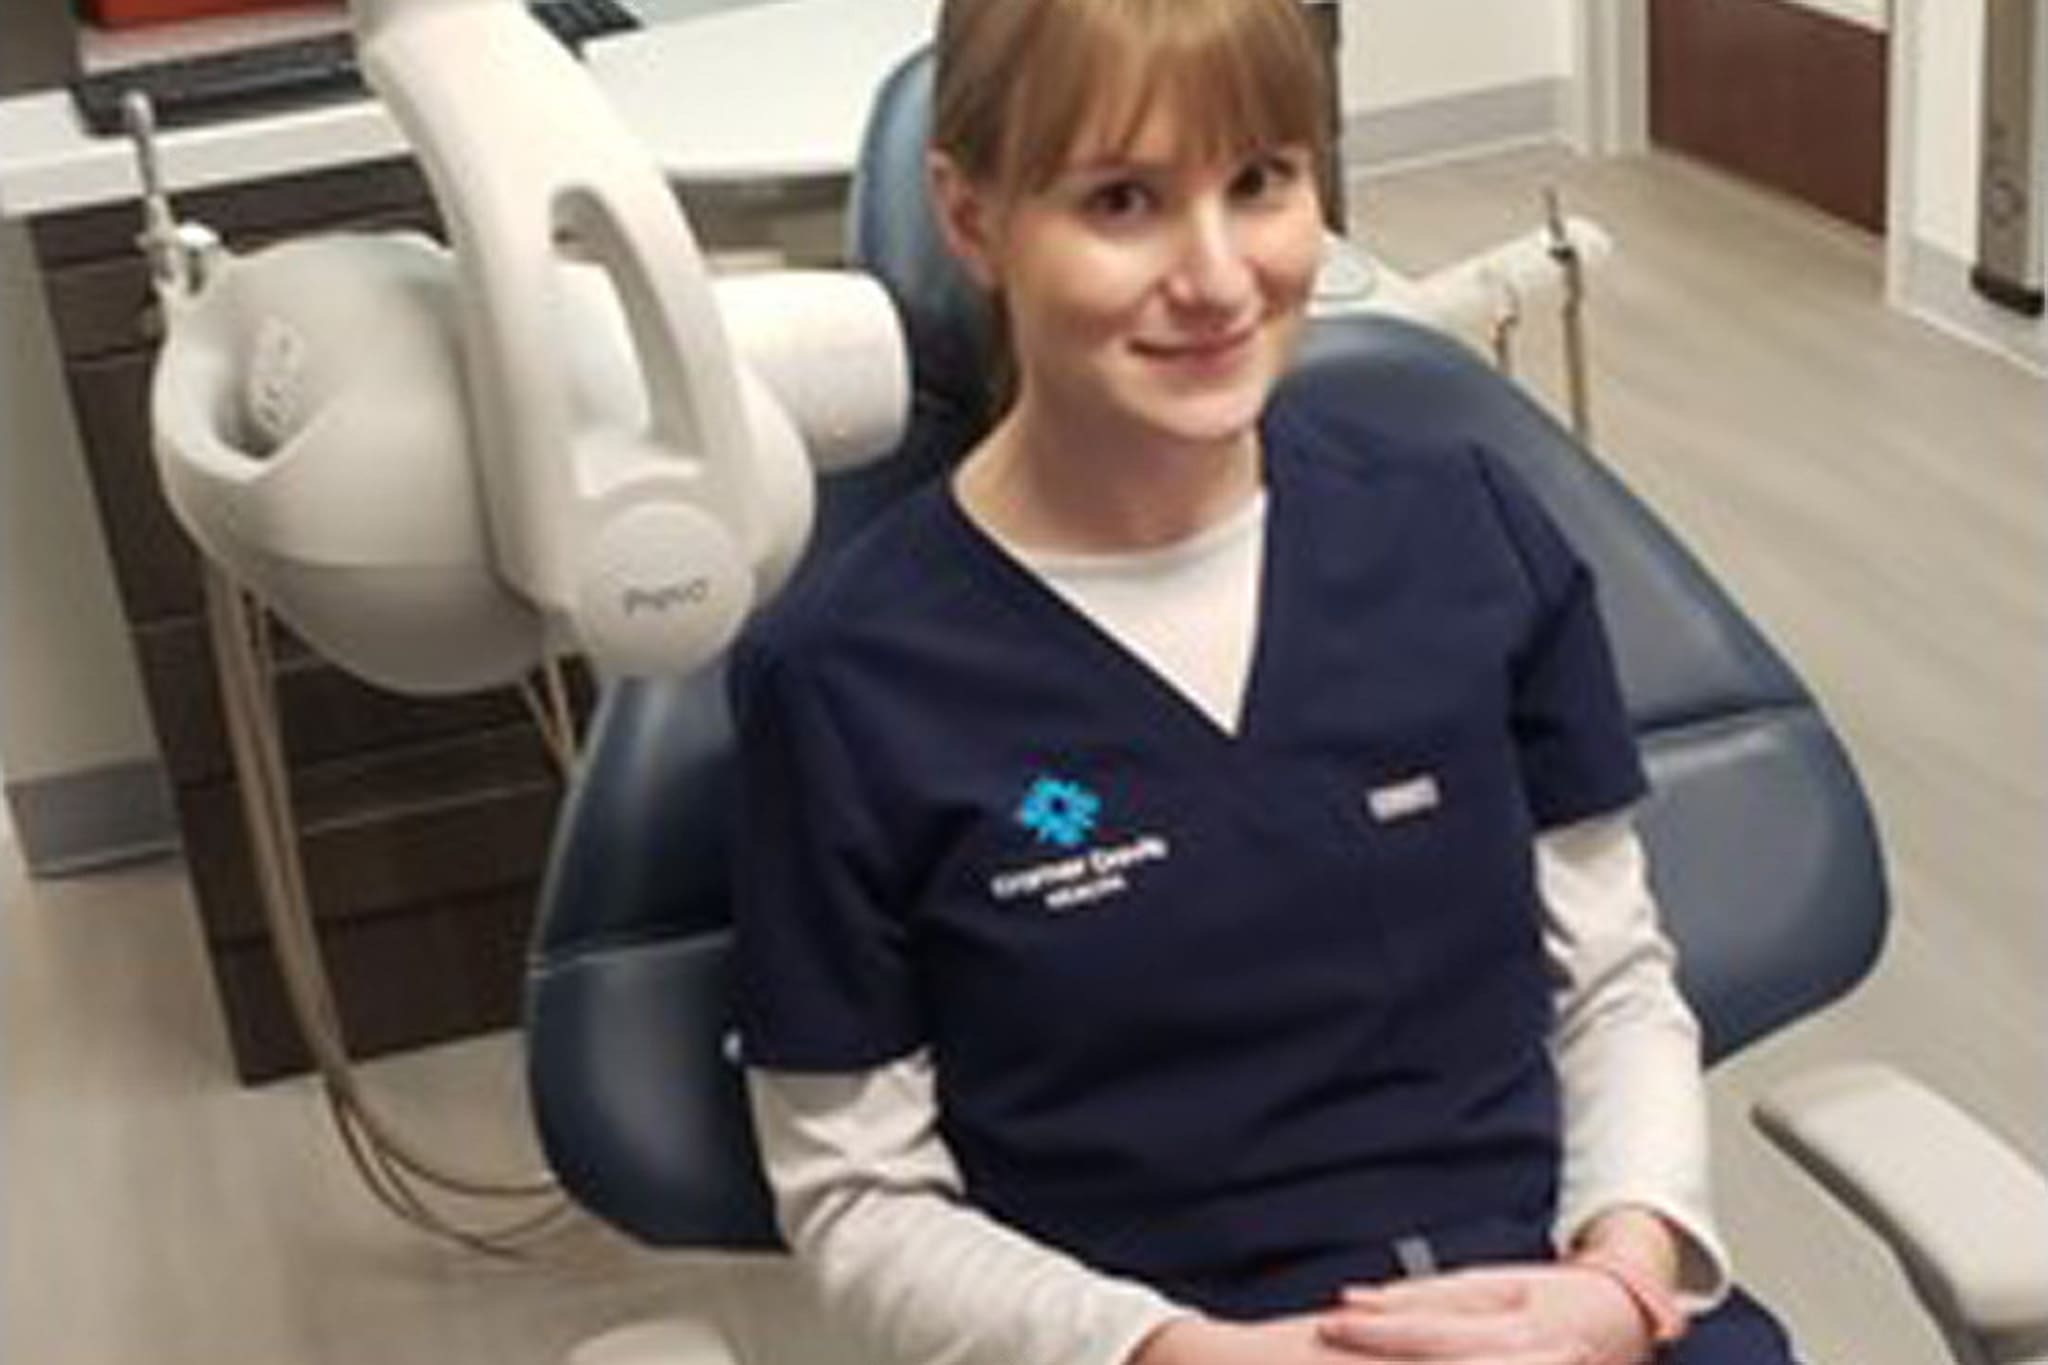
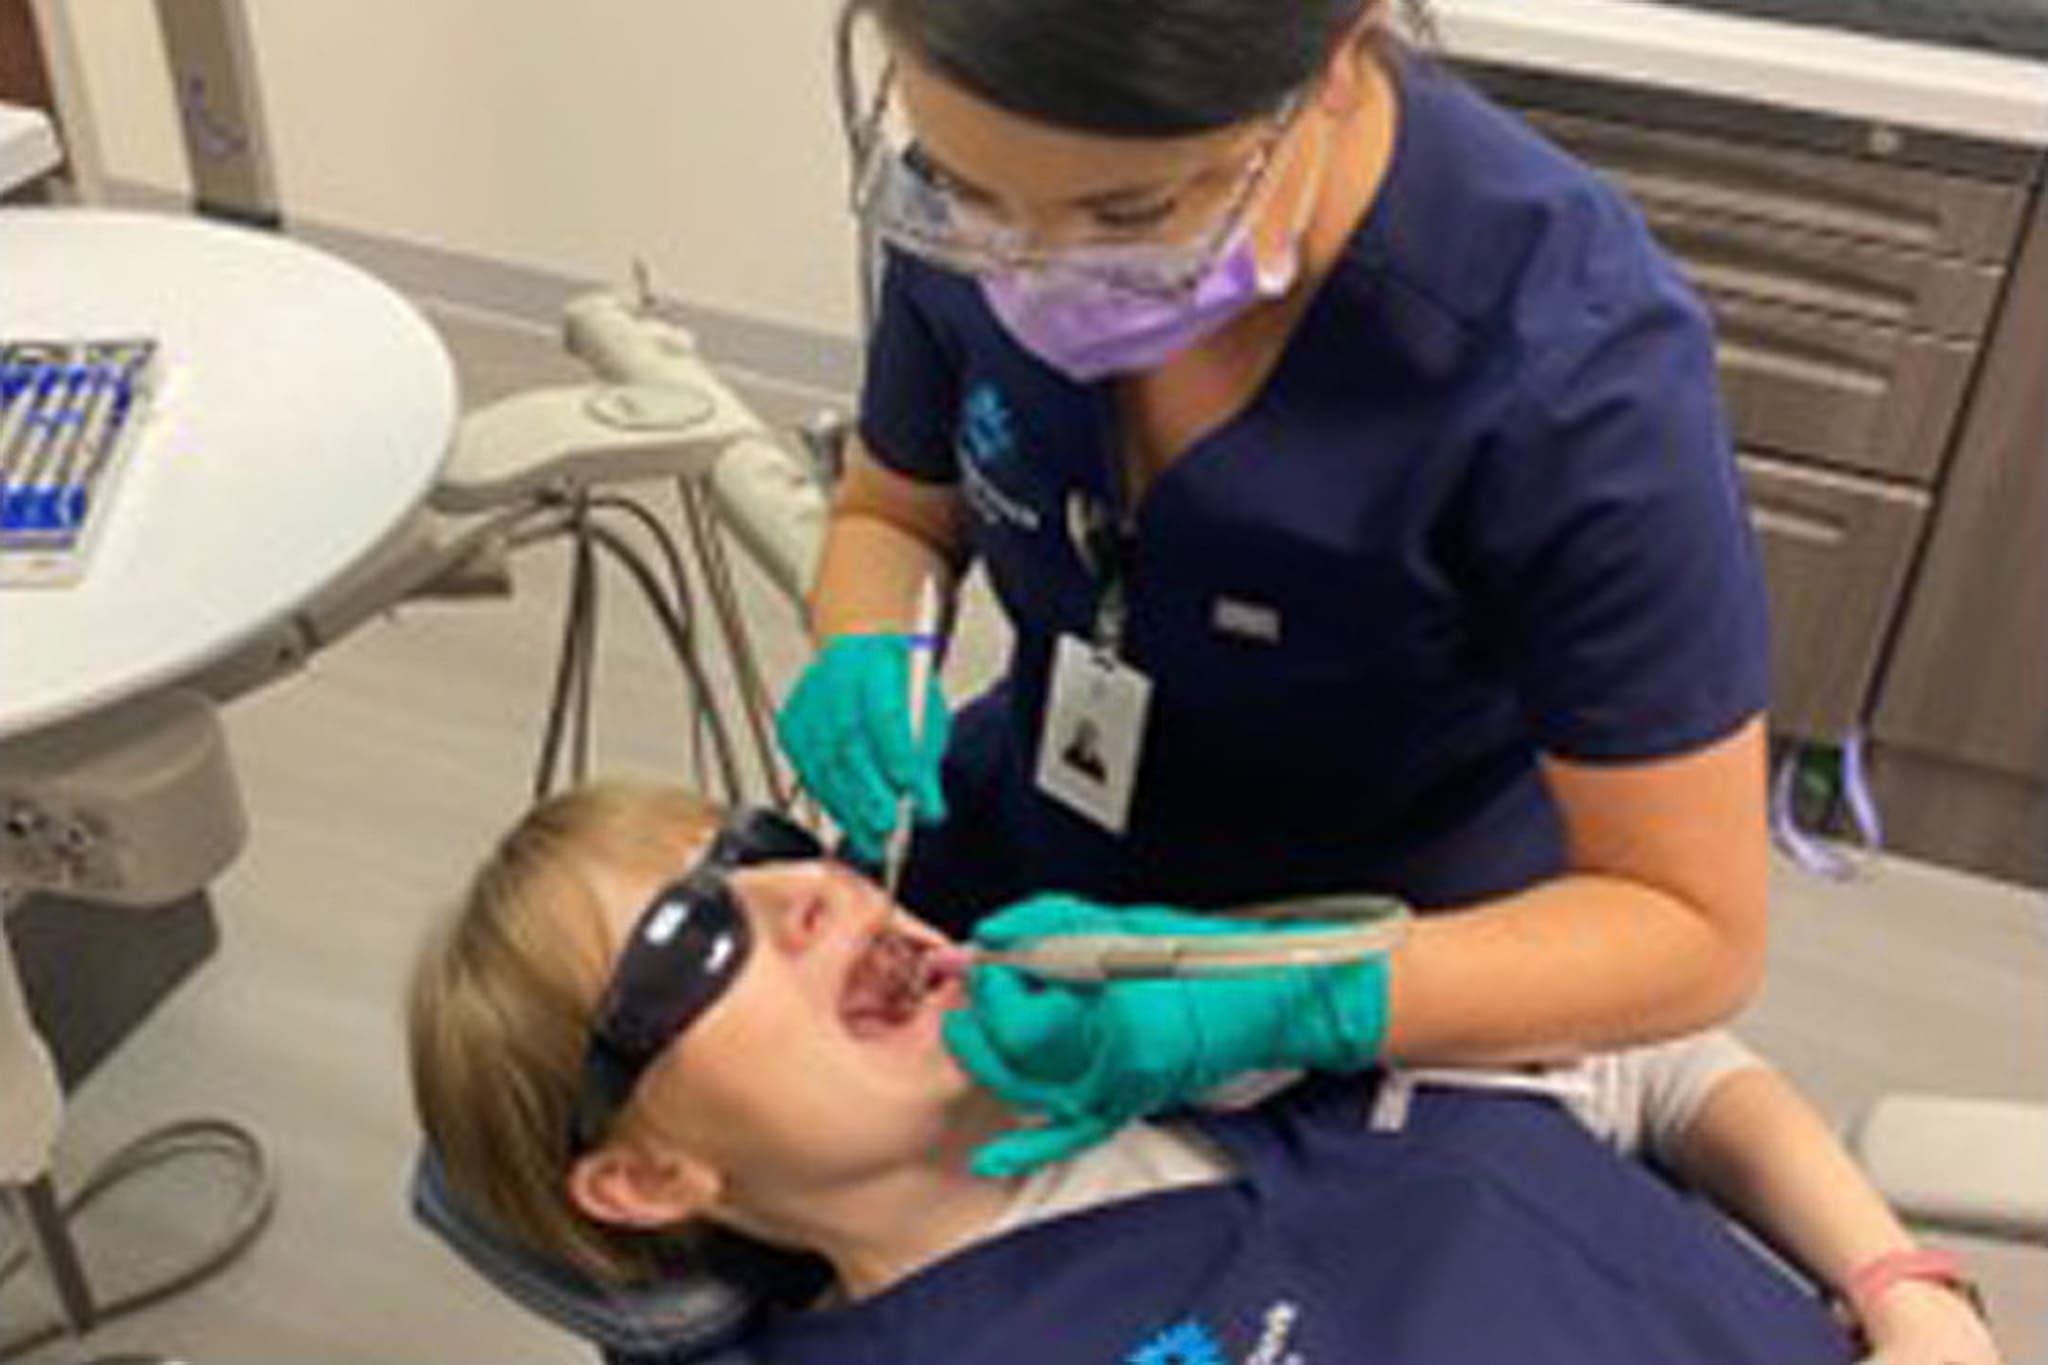
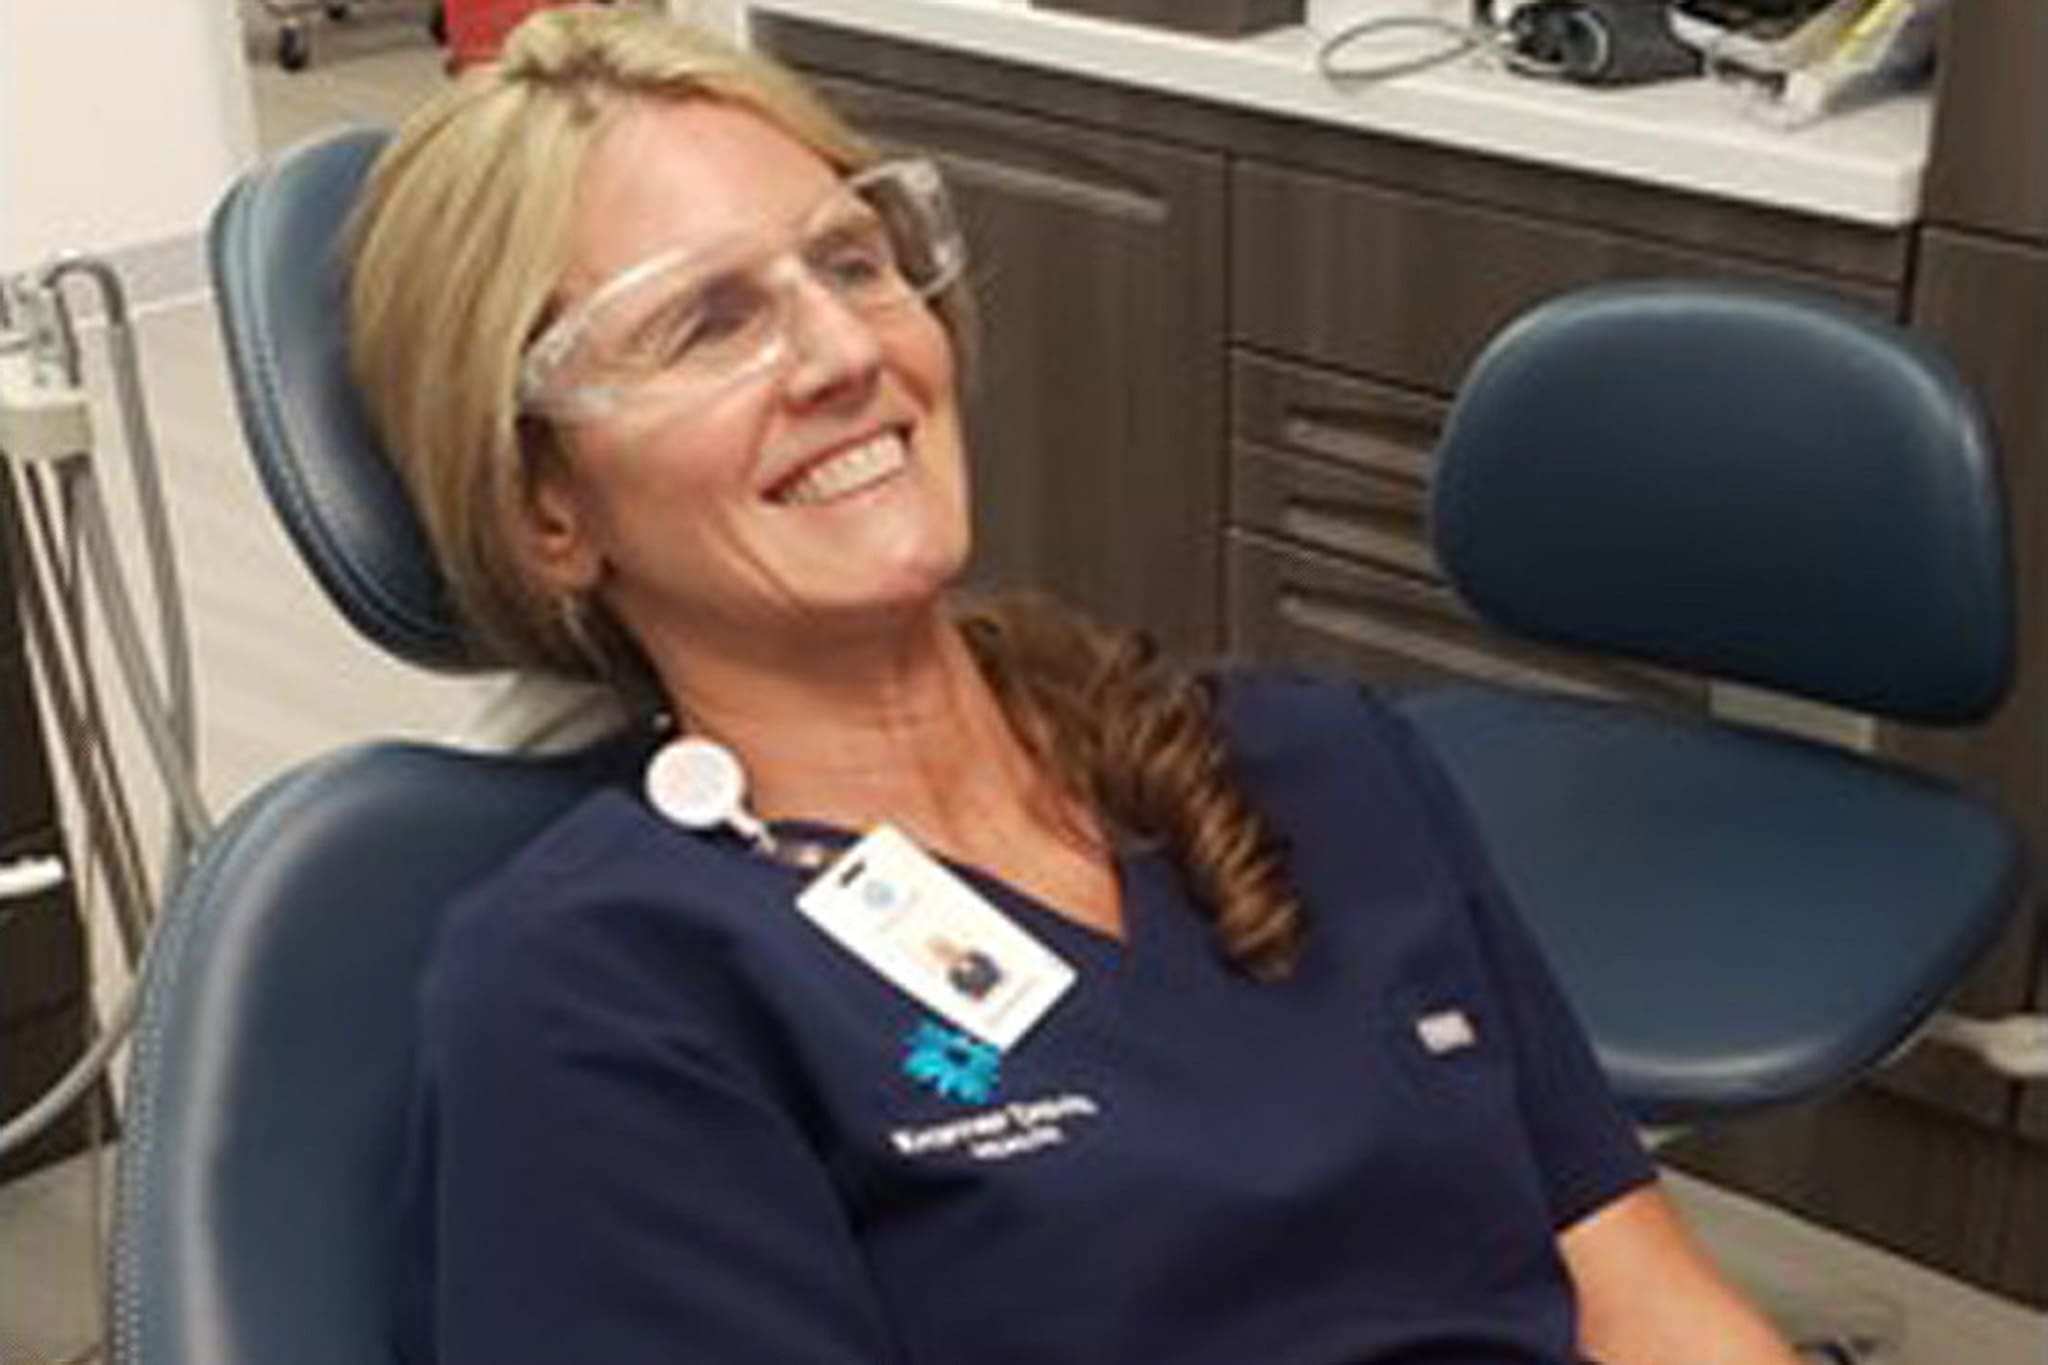
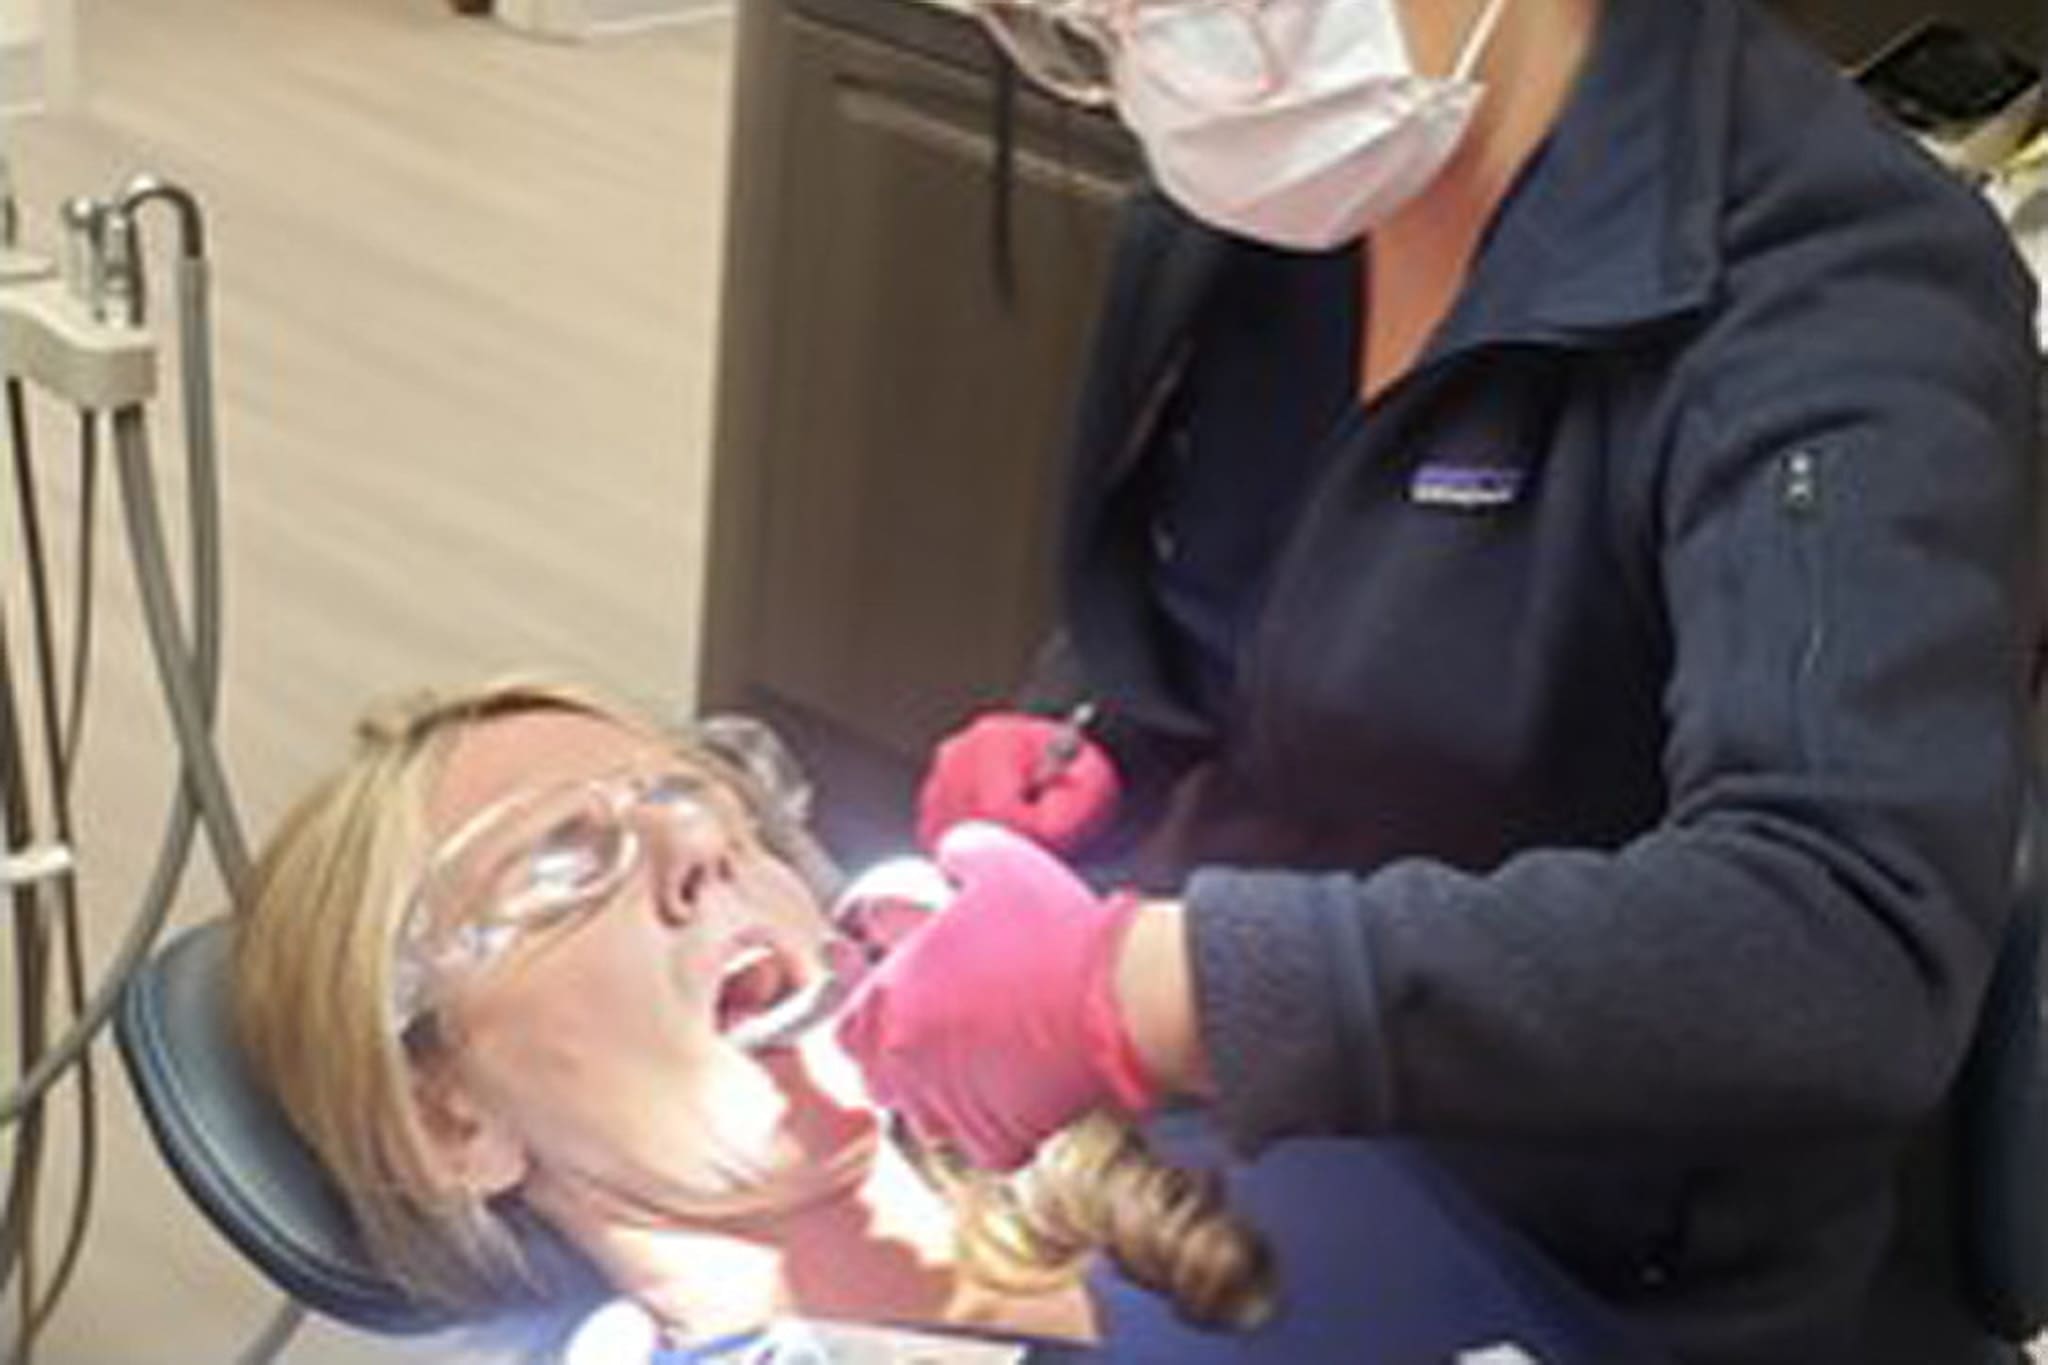
- Dental Cleaning
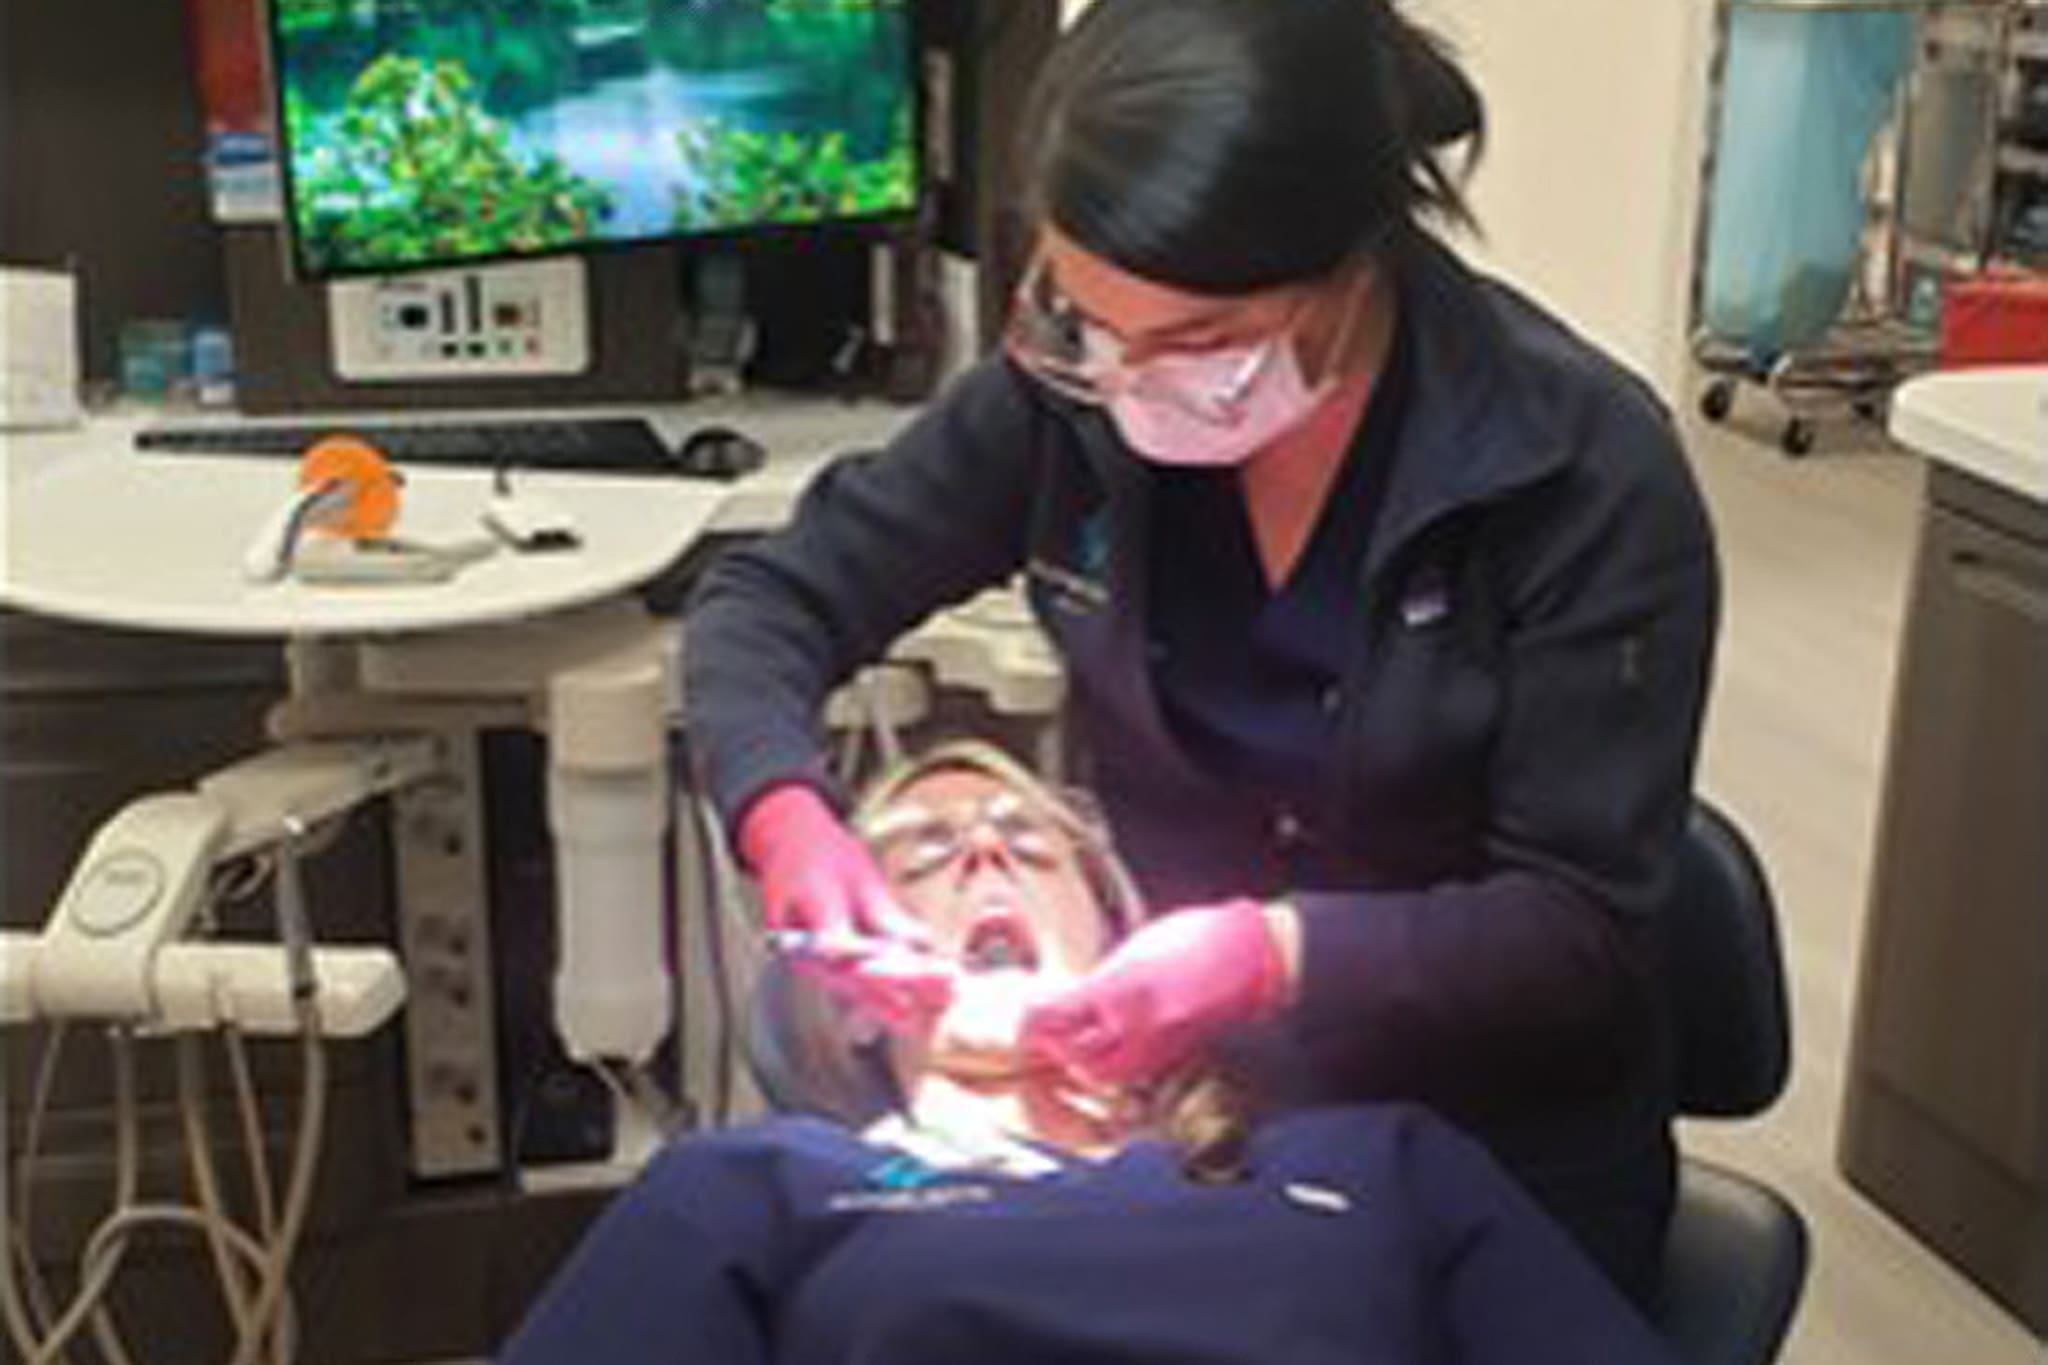
- Cavity Filling
- Physical Therapy
- Occupational Therapy
- Speech Therapy
Medical 1st Appointment
Blood Draw
Dental Cleaning
Cavity Filling
Physical Therapy 1st Appointment
Occupational Therapy 1st Appointment
Speech Therapy 1st Appointment
DocuSign Intake Packet Guide
Simplify your intake process with our DocuSign guide. Follow these easy steps to complete your forms securely and efficiently online. Ensure all required fields are filled out and signatures are adopted with ease, so you can focus on your care.
STEP 1
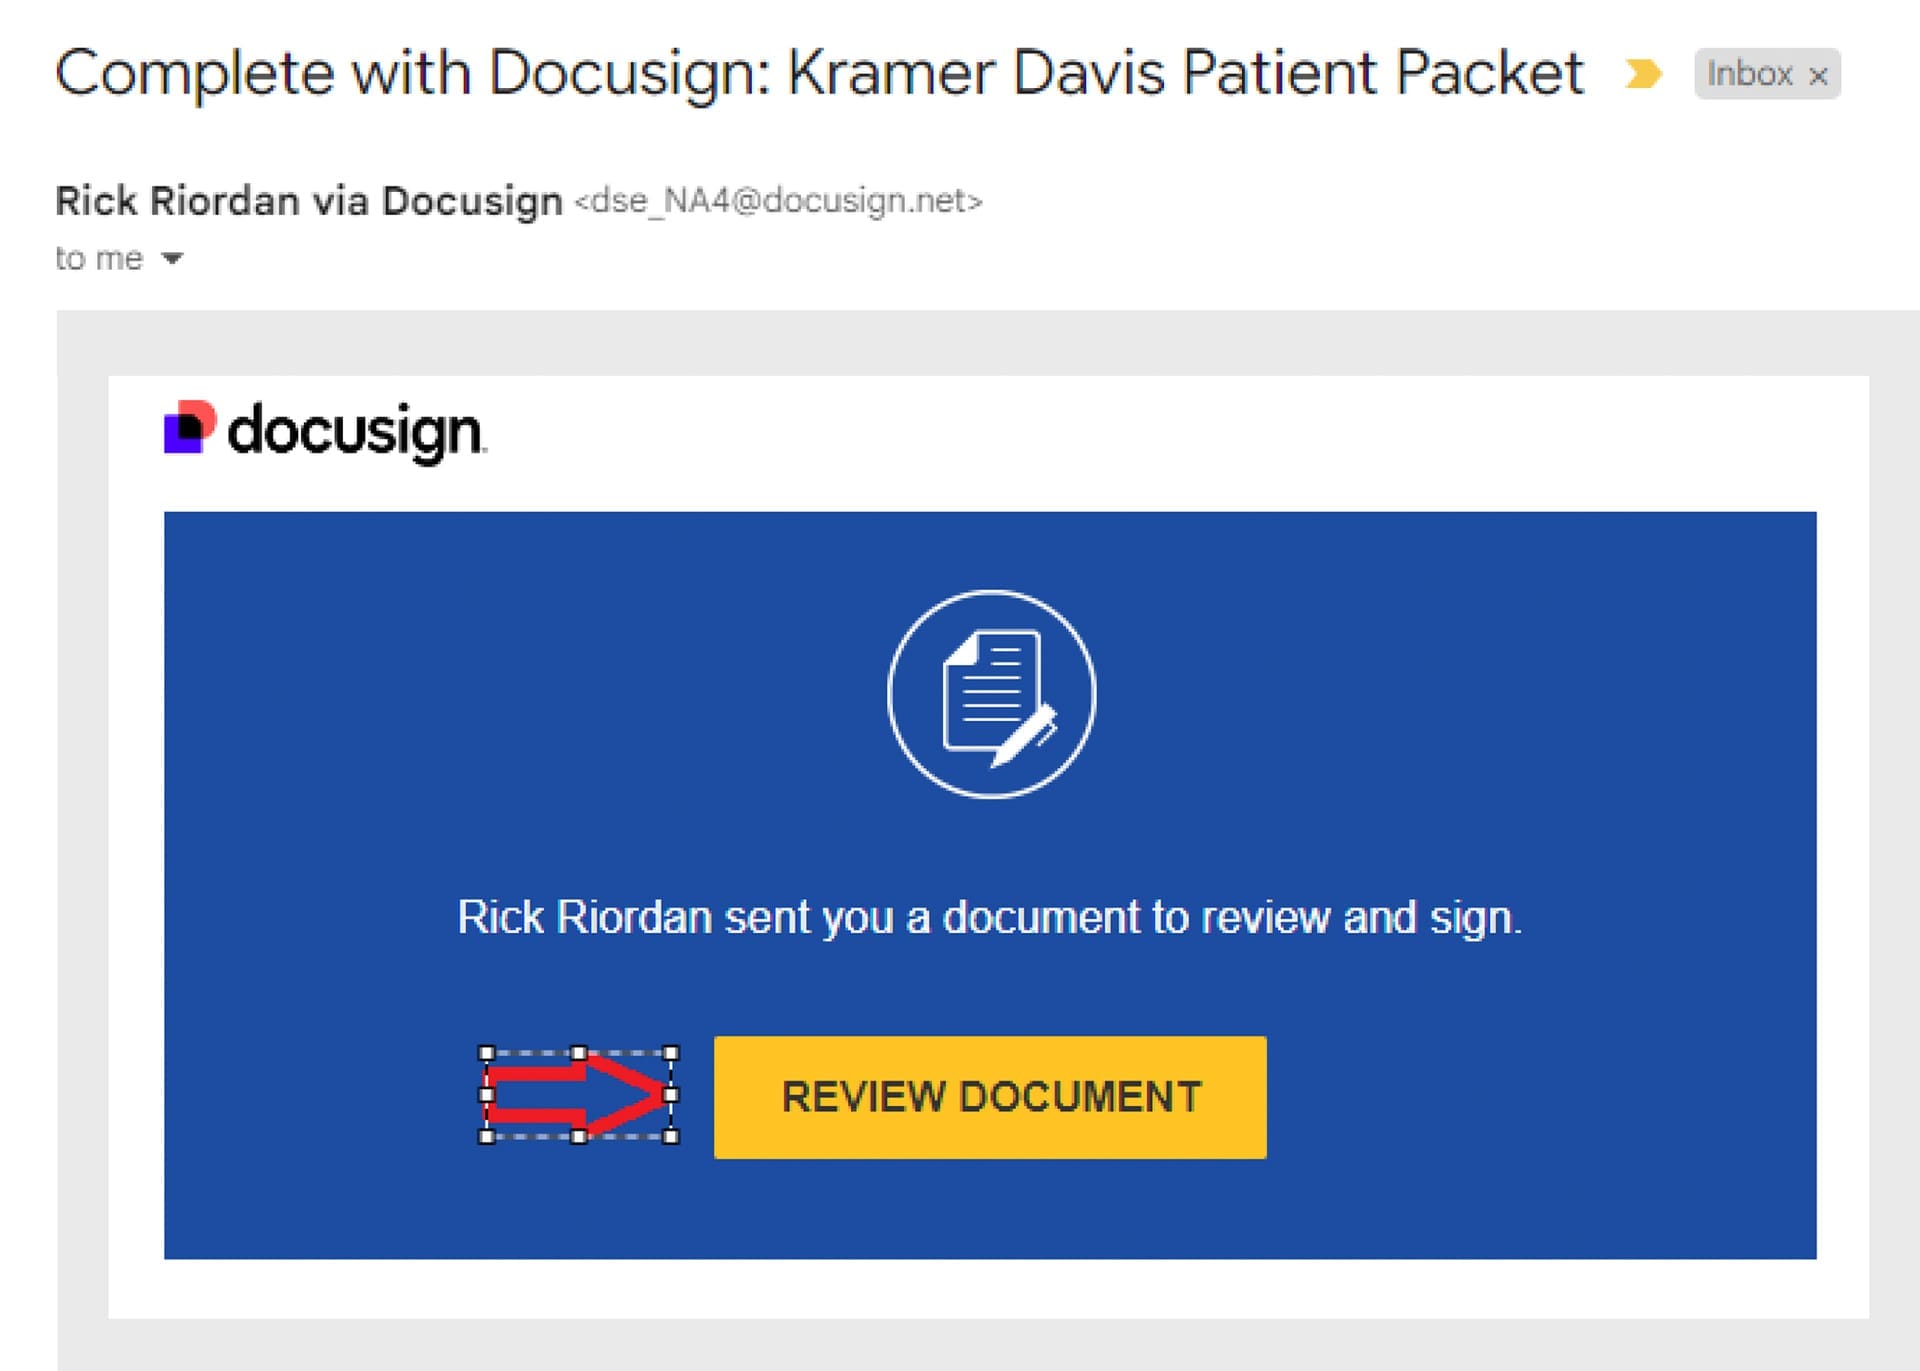
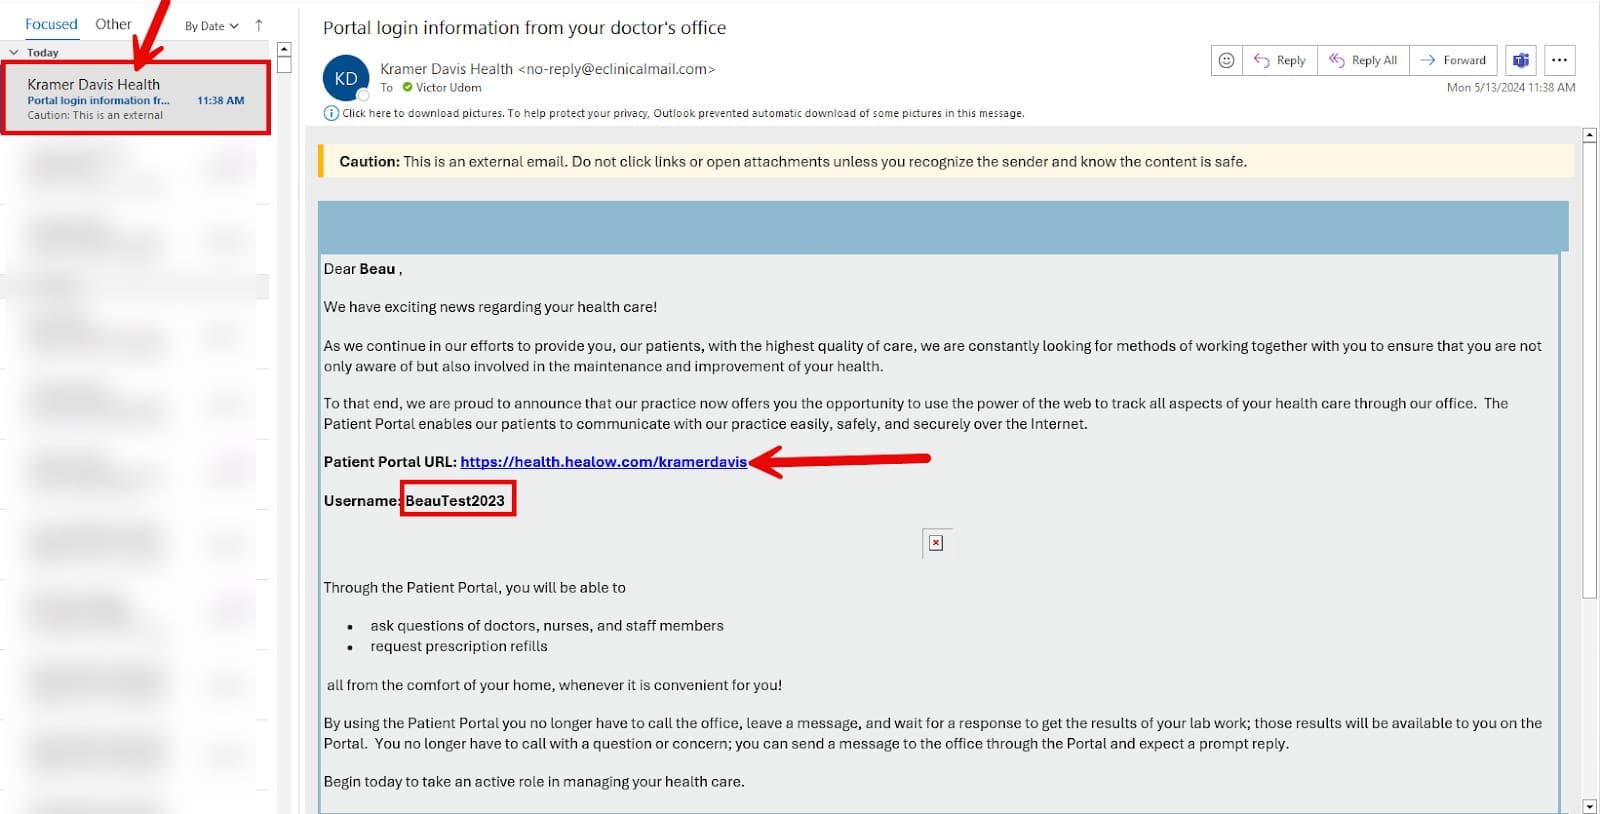
Check Your Email
- Look for an email from DocuSign that resembles the image below.
- We recommend using a computer to complete the DocuSign packet, as it may be difficult to complete on a phone or tablet.
STEP 2
Click on Review Document
- Click the yellow “Review Document” button in the email.
- This will open the form on the DocuSign website.
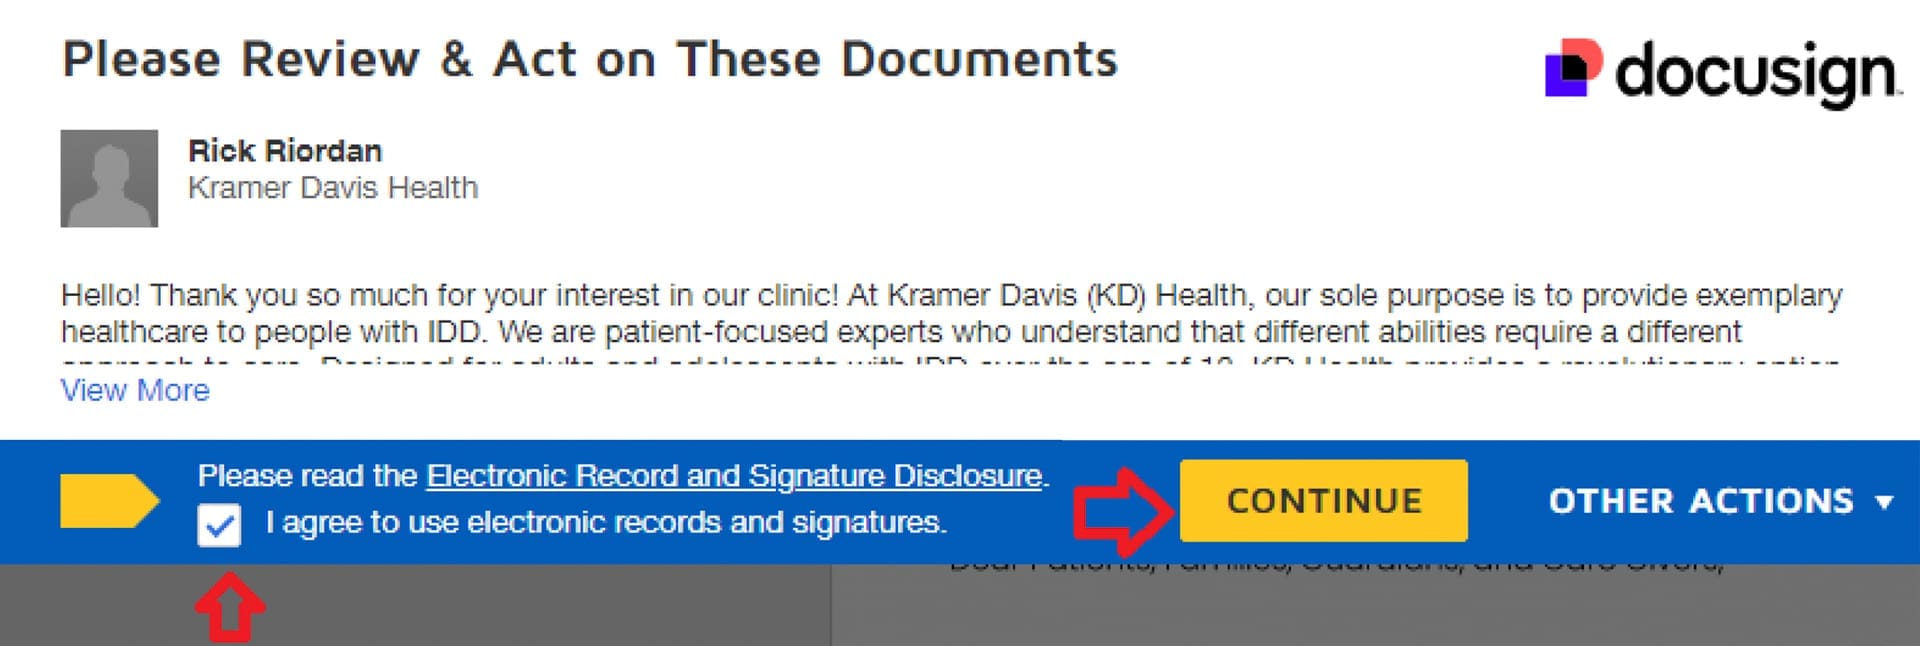
STEP 3
Agree to the “Electronic Record and Signature Disclosure”
- You will need to click on the “Electronic Record and Signature Disclosure” checkbox. Then you can click the continue box.
STEP 4
Complete All Sections of the Document
- On the left side of the document, clicking on the Next button will take to
you to the next field to be entered.

- Some fields you must choose between options.
- Depending on your choice, you will move onto the next field, or be asked for more information.

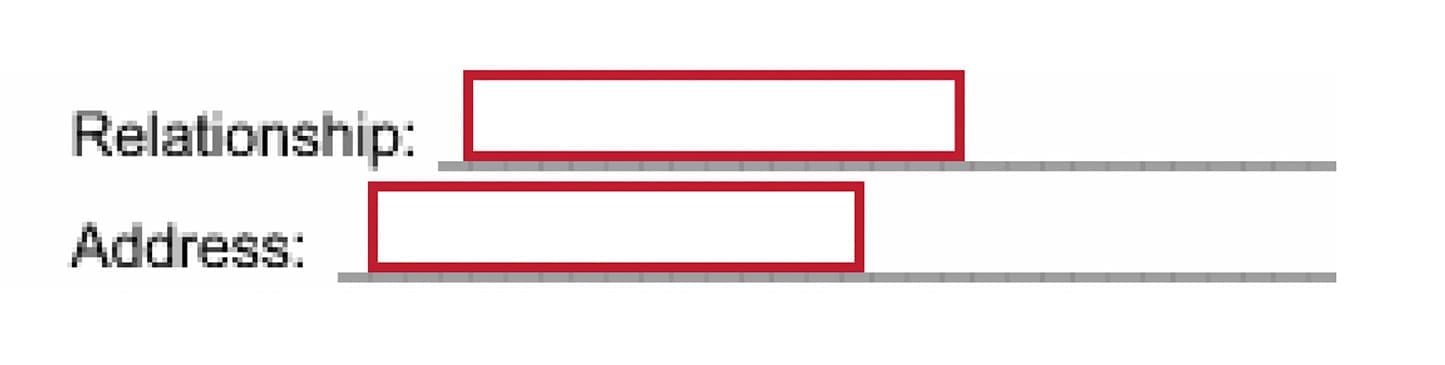
- As you go through this document there are Mandatory fields that must have data entered in them, they are highlighted with a red box.
- There are numerous checkboxes that are not mandatory, but if checked will provide staff with helpful information going forward. Please complete as many fields as possible.
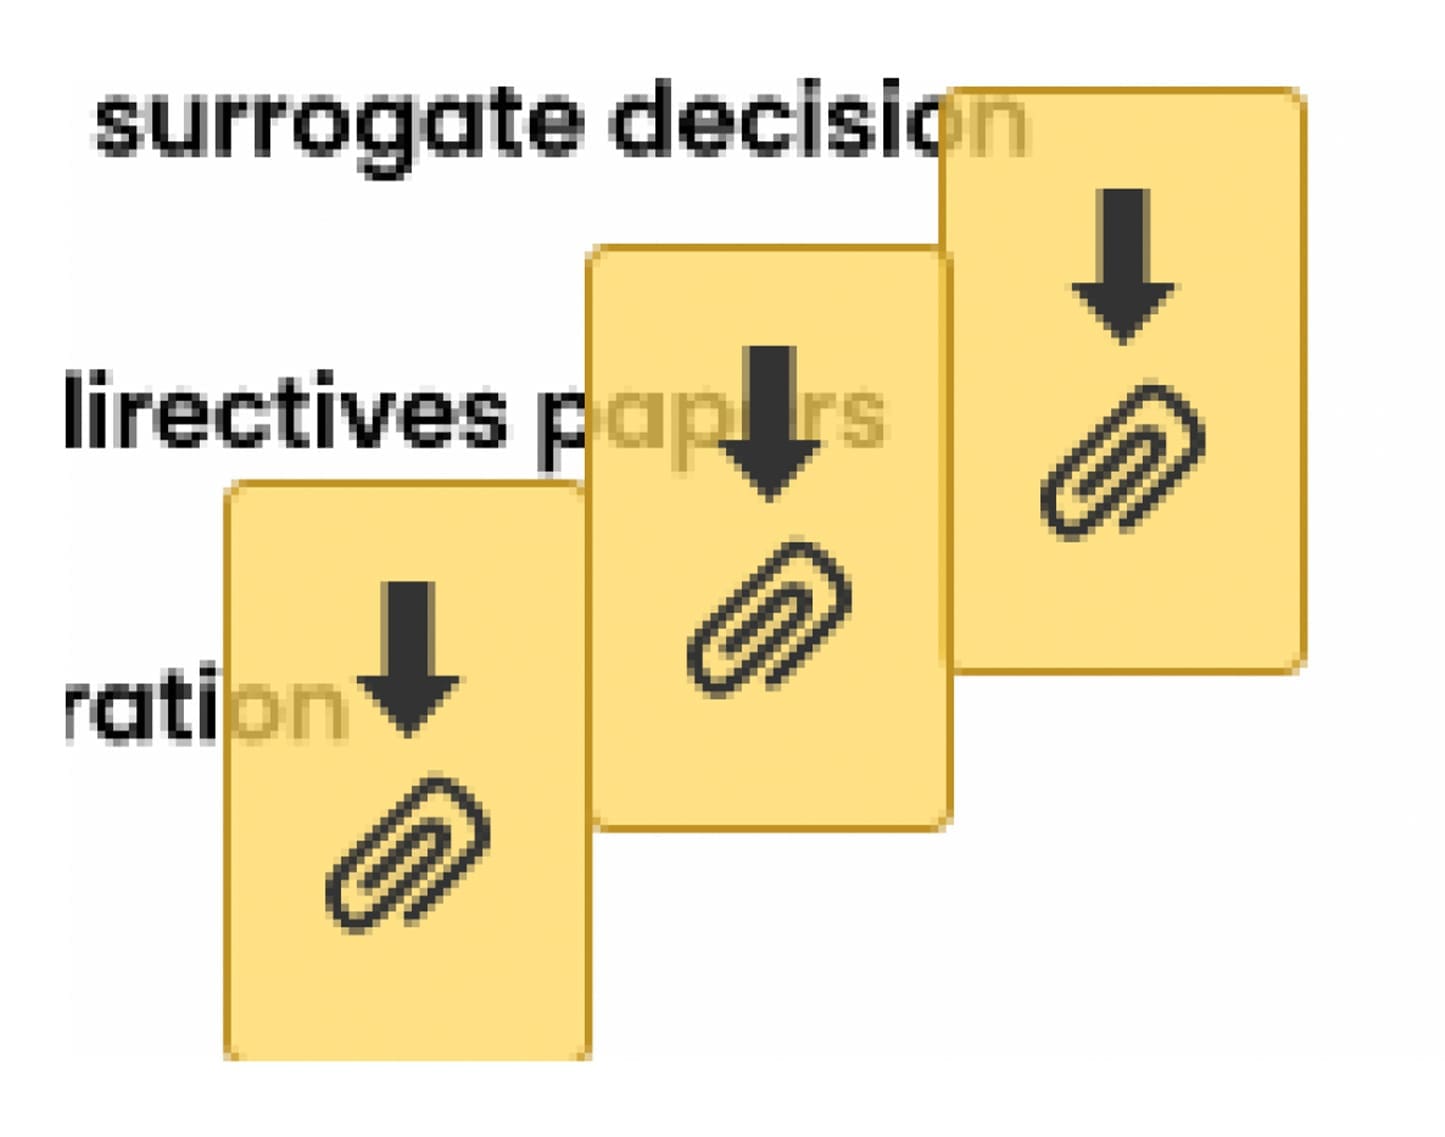
- Other boxes will require an attachment, that could include medical records, prescriptions, photo ID, etc. These are indicated by a box with a paperclip.
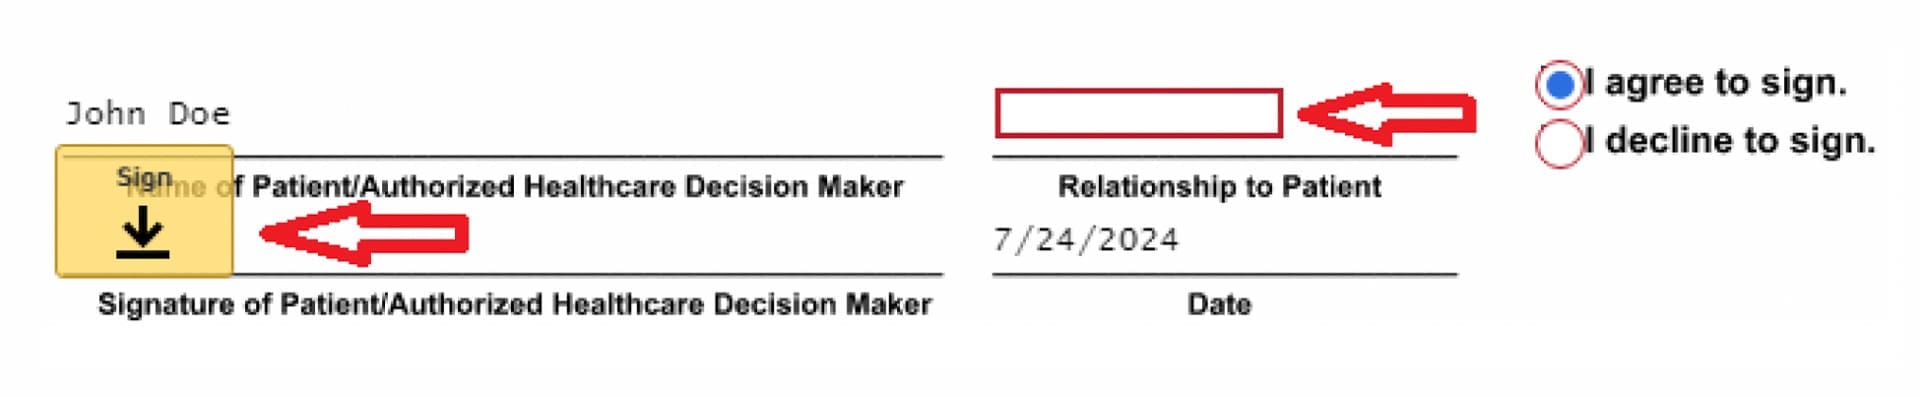
STEP 5
Signing the Document
- At the end of each section there is a signature page. You must choose “I agree to sign” or “I decline to sign”. If you check “I decline to sign” you will move to the next section.

If you check “I agree to sign” you will be prompted to fill out the highlighted sections. You will need to fill out “Relationship to Patient” field and click the Sign button.
STEP 6
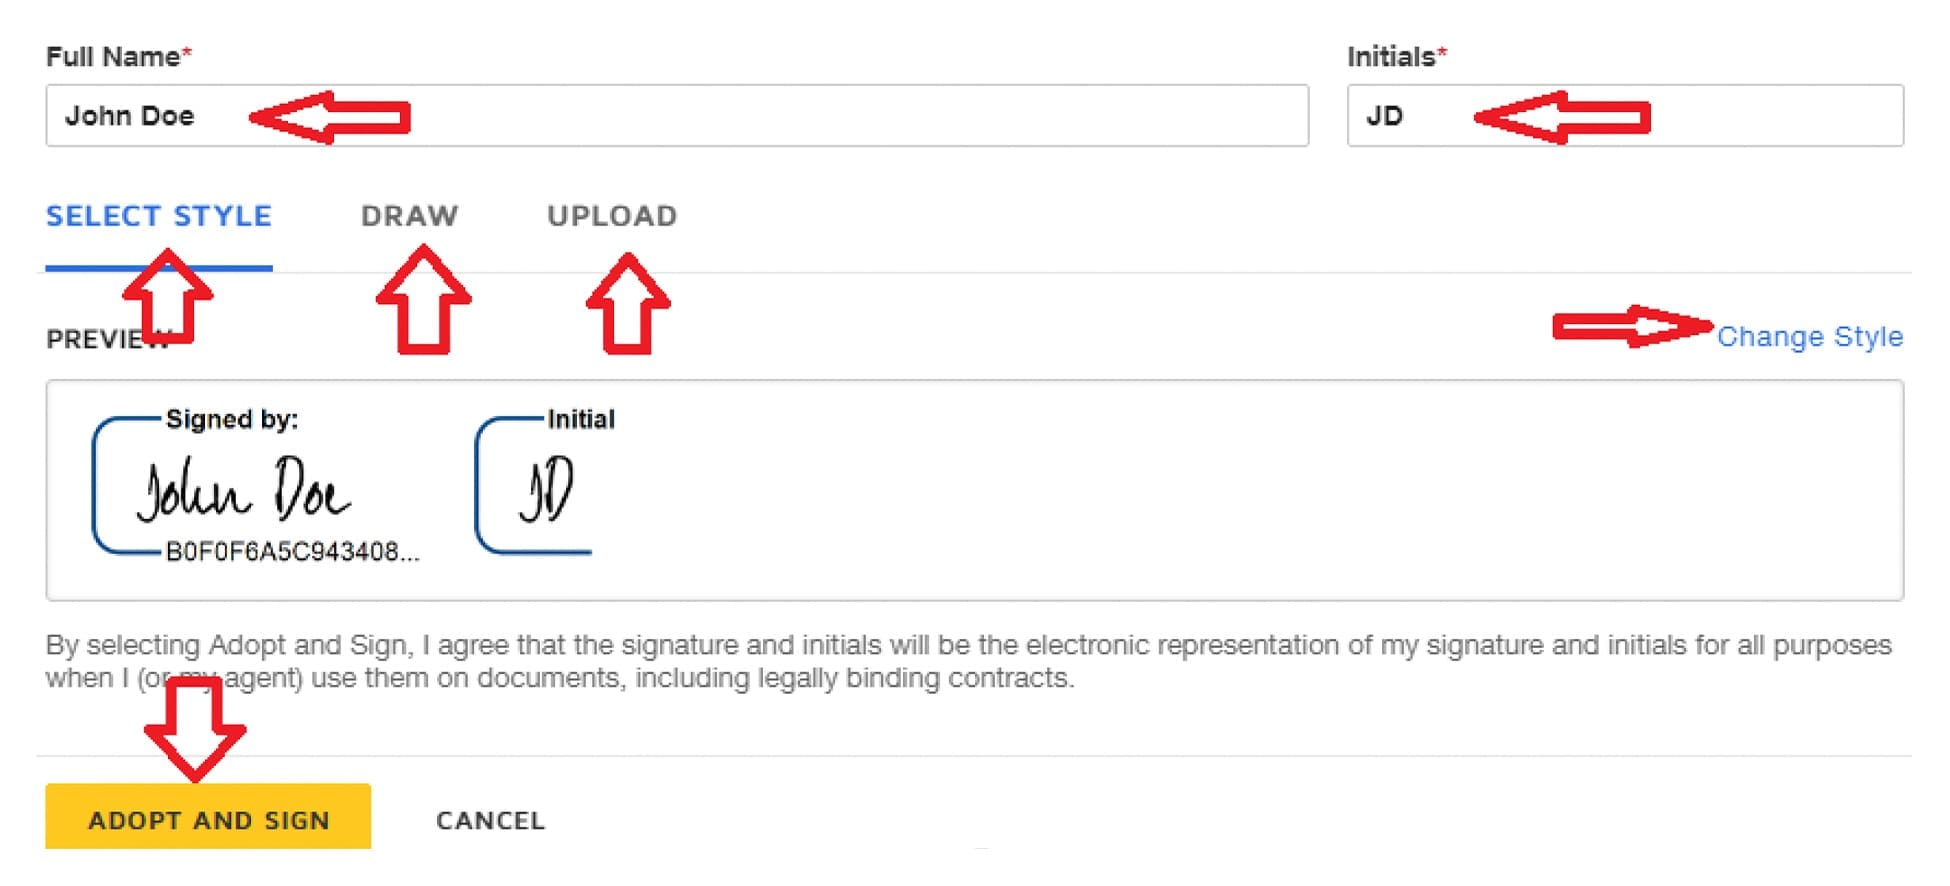
Adopting a Signature
If this is your first time signing a document in DocuSign, clicking on the “Sign” tag will open a box for adopting your signature.
Adopting a Signature:
- First, verify your name is correct.
- Next, select a style for your signature by choosing one of the following options:
- Accept the default signature and initial style.
- Click “Change Style” to select a different signature option.
- Click “Draw” to draw your signature/initials using a mouse, or your finger or stylus on a touchscreen.
STEP 7
Finishing the Document
- Once you’ve clicked through all the “Next” buttons, the “Finish” button will turn yellow, allowing you to complete the document.


Patient Portal Help Guides
Our Online Patient Portal simplifies healthcare management. Log in, access medical records, and communicate with providers easily. Stay connected and informed with secure access to your health information.
PATIENT PORTAL
Login Steps
Patients at Kramer Davis have the option to create an online patient portal account. They will receive an email in their inbox with their Username and URL link to the Patient Portal.
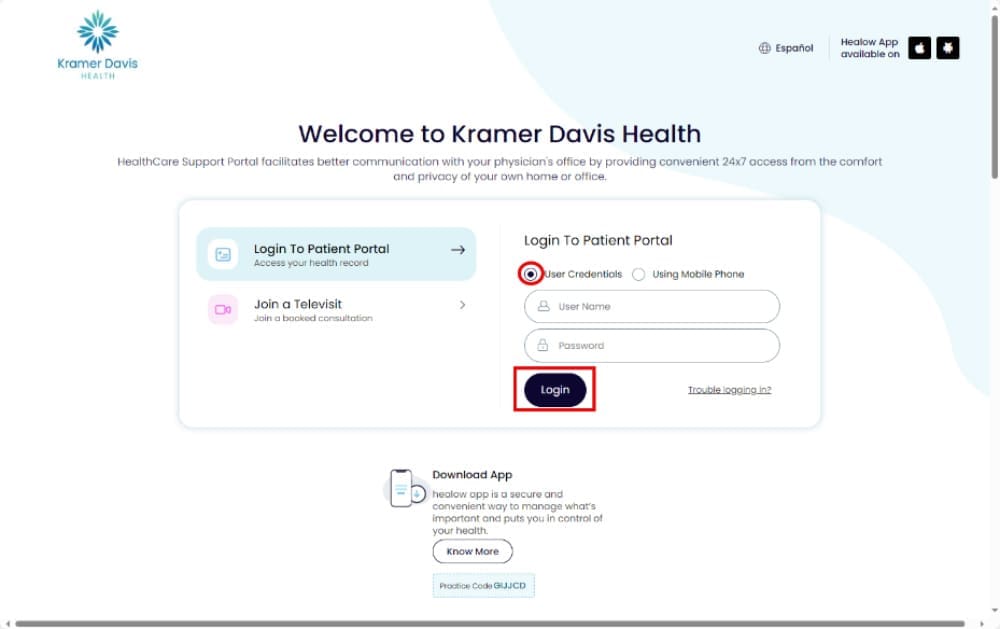
The following screen gives the option to login to the portal. The user will have 2 options to log in.
- User credentials (username and password)
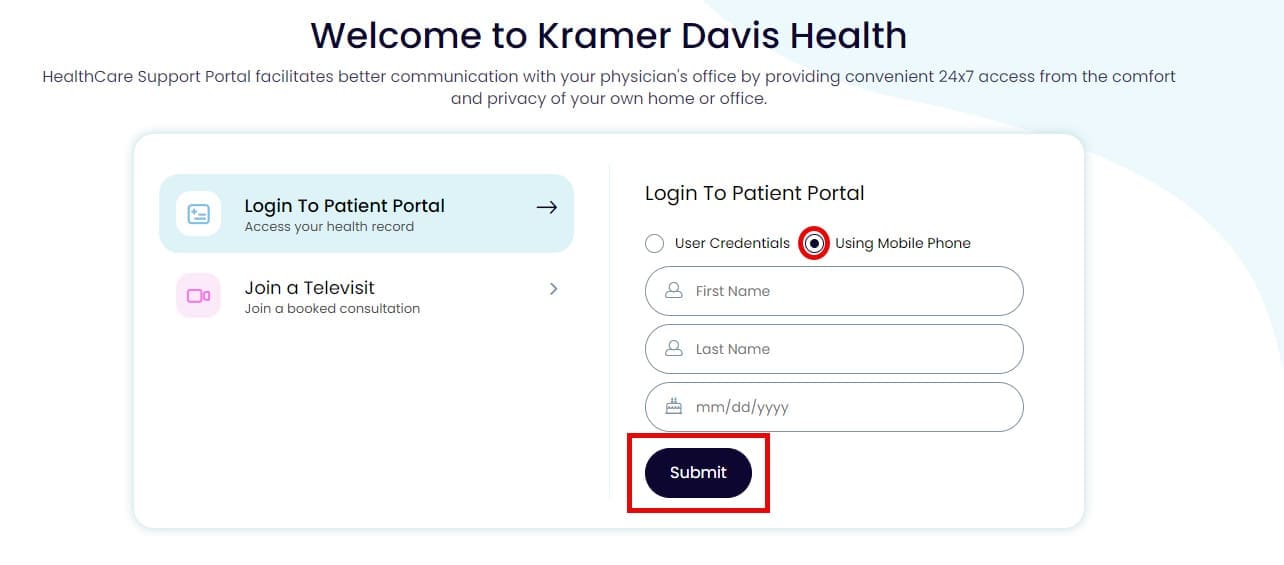
- Mobile phone
User Credentials: Enter username and password provided in the email.
Mobile Phone: Enter first name, last name, and date of birth of the patient and hit submit.
The user will have two options to receive the verification code: Through their Phone Number or Email.
Important Note: The phone number and email will be Kramer Davis Health has on file.
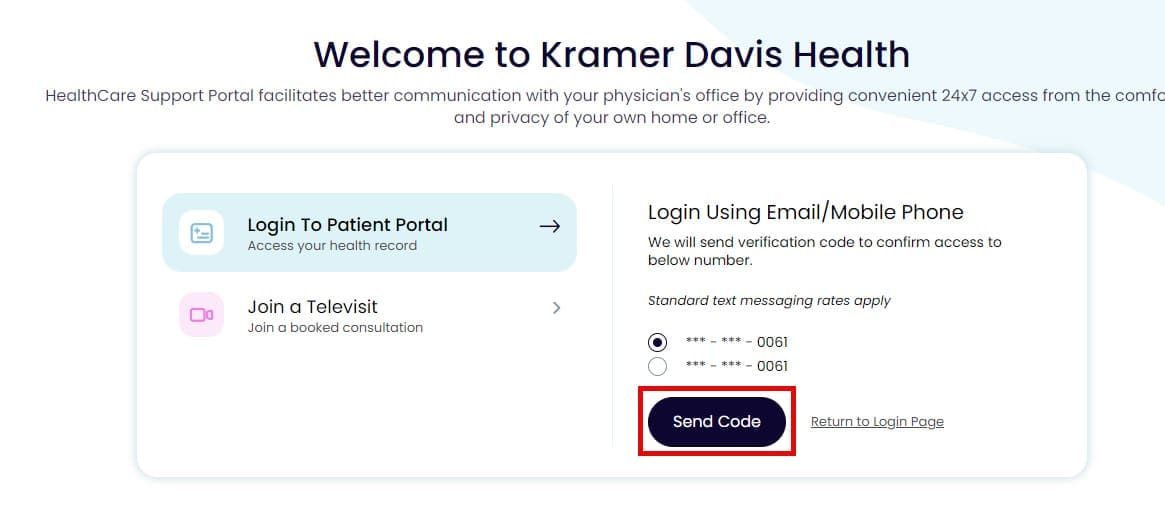
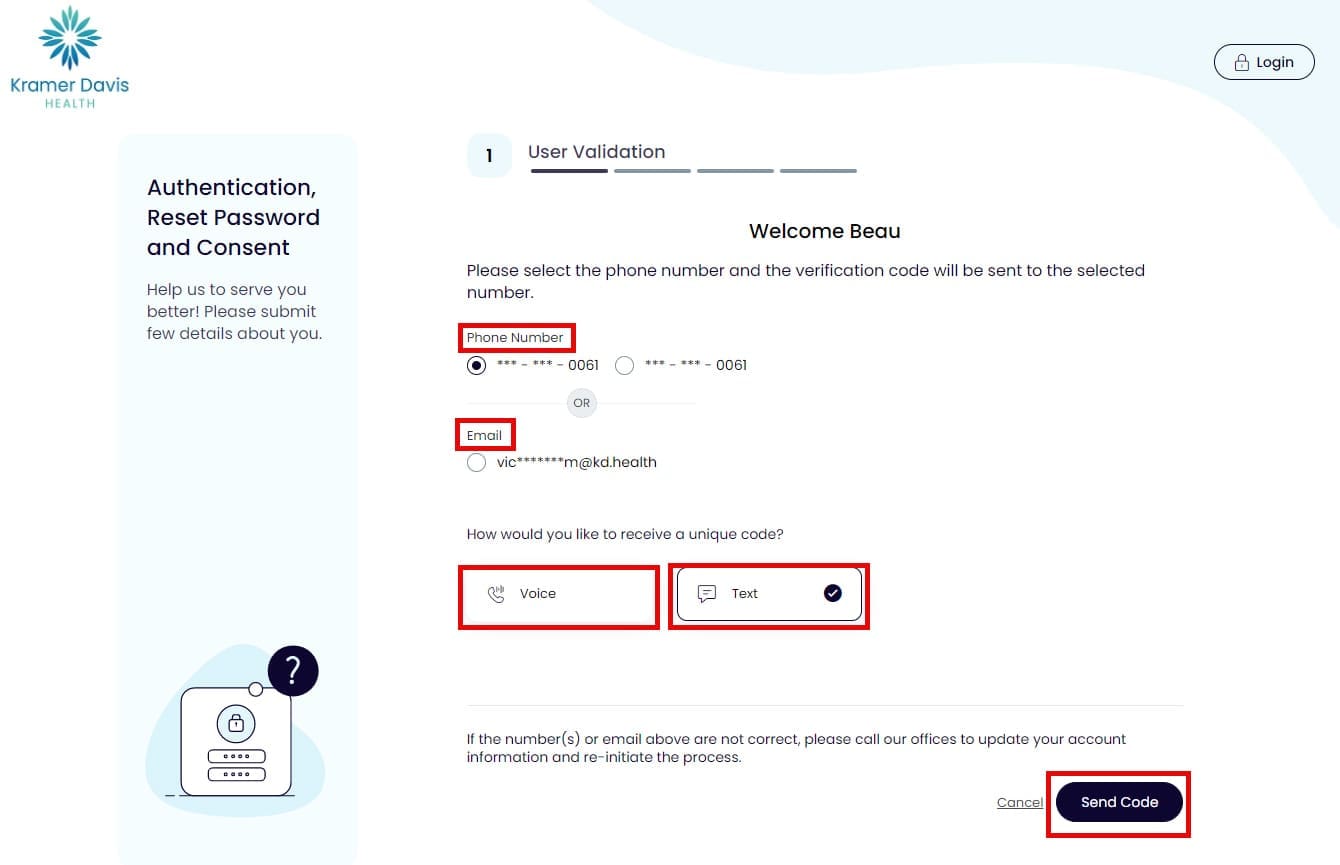
After the user has picked their option, click the Send Code button.
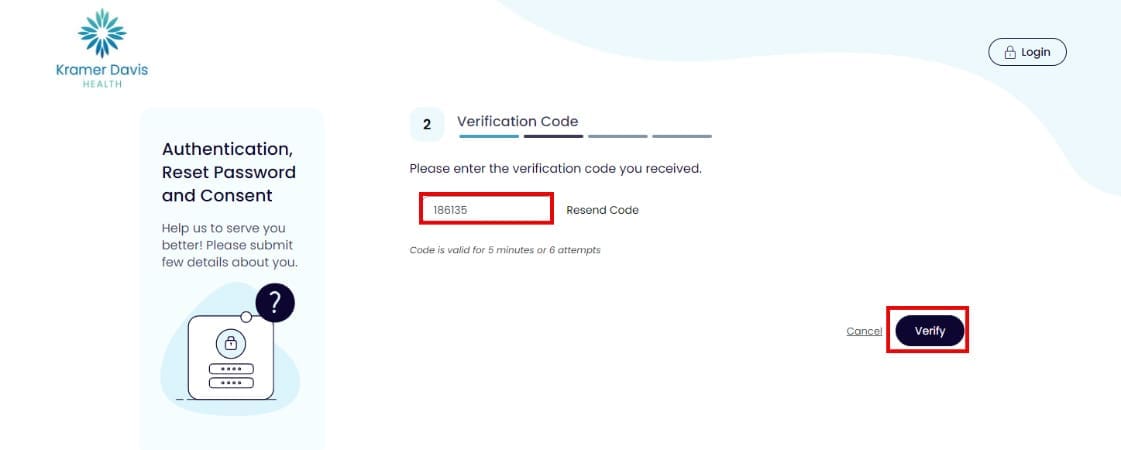
Enter code you have received via phone or email and click verify
Important Note: If you did not receive the code, please click on the Resend Code button.
You will be asked to create New Password. After adding the new Password, click the Next button.
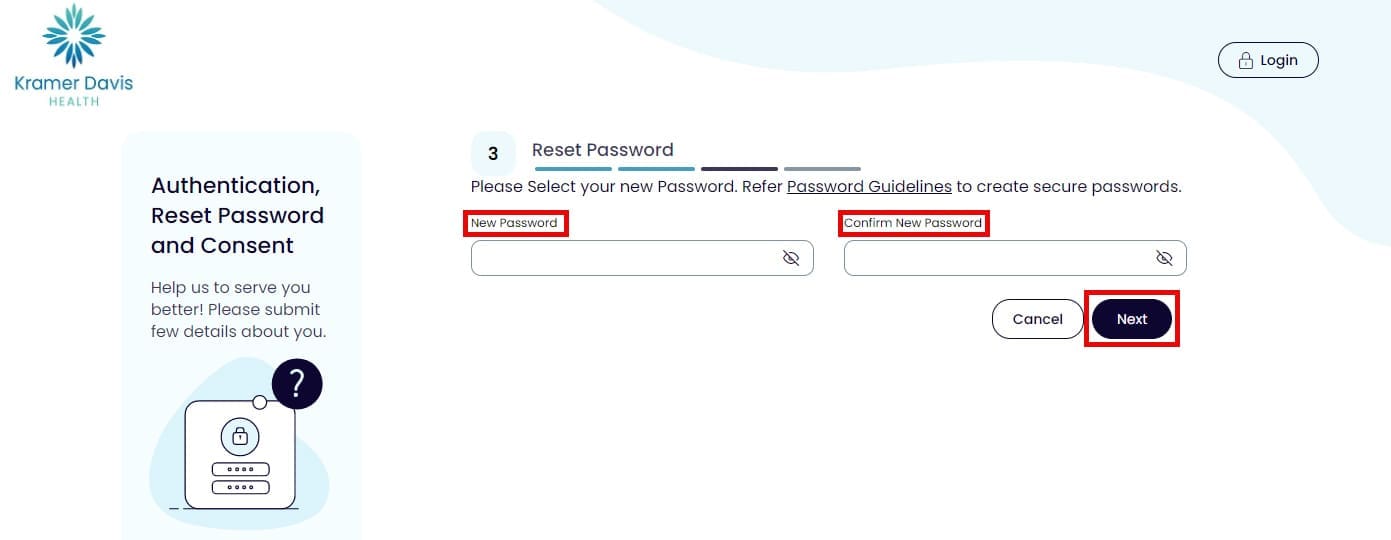
When the user has successfully created a new Password, the system will now log them in to their portal home screen.

PATIENT PORTAL
Account Overview
When the user has successfully created a new Password, the system will now log them in to their portal home screen.
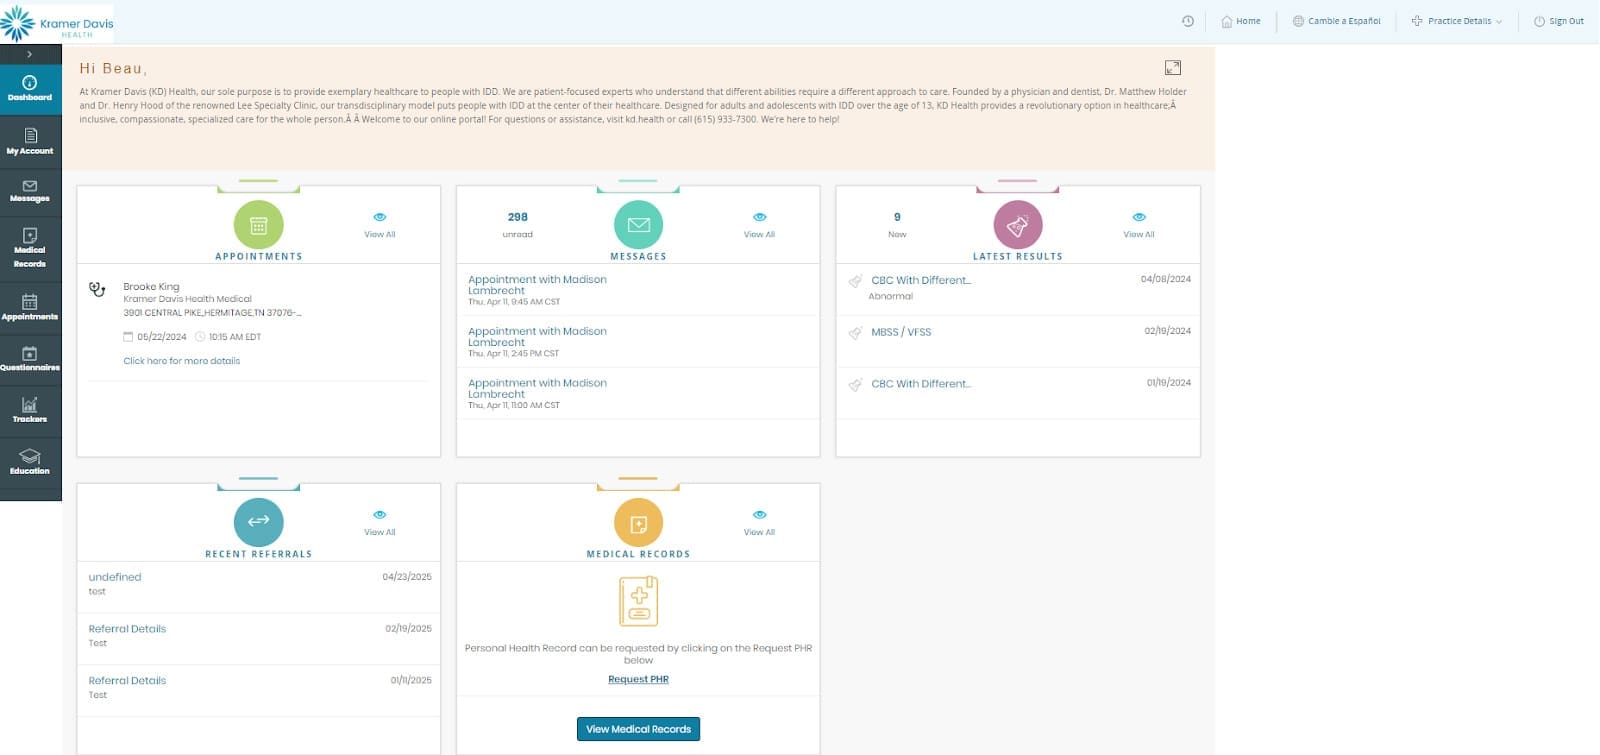
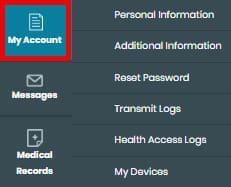
“My Account” contains the following sections
- Personal Information
- Additional Information
- Reset Password
- Transmit Logs
- Health Access Logs
- My Devices
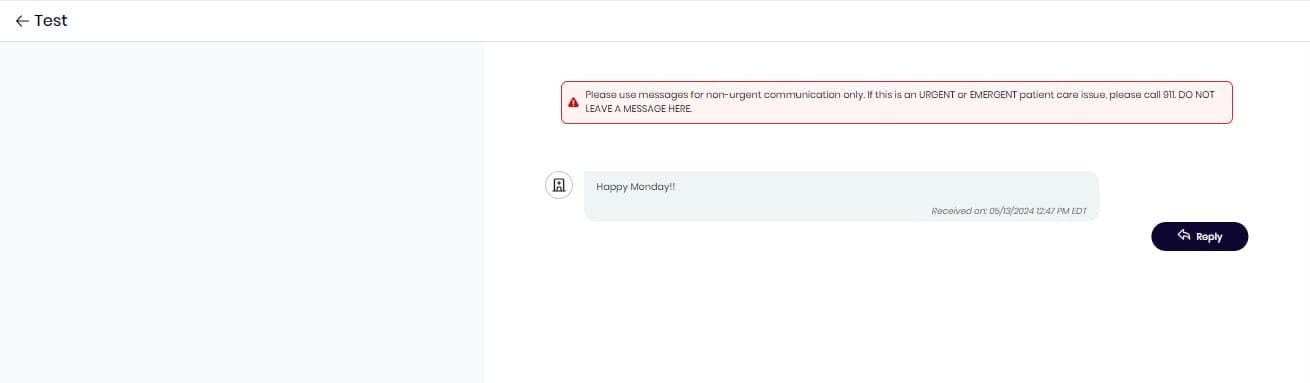
Messages contains an inbox to send an receive messages to the clinic.


Select the Provider you wish to send / reply to.
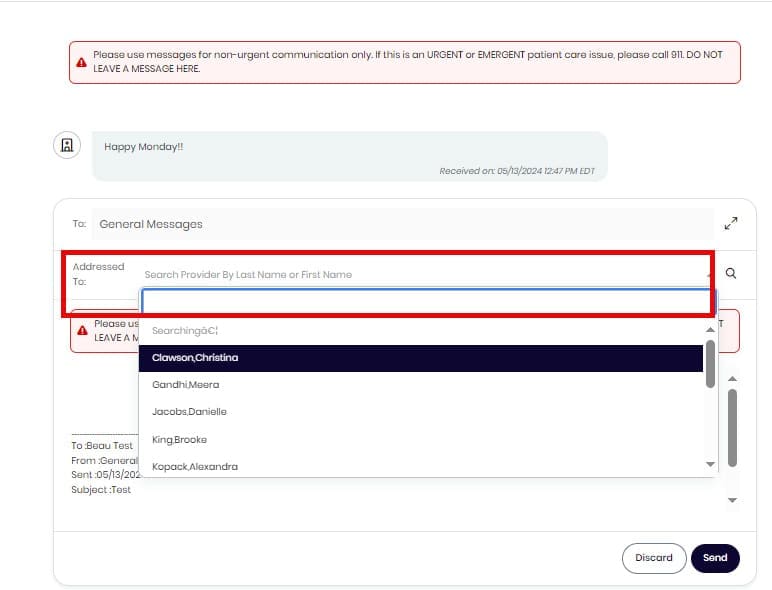
After typing your message, please click the Send button. This button will then be sent to the provider you selected into the system.
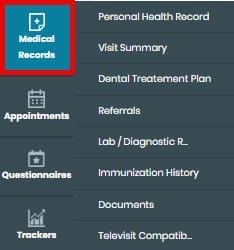
Medical Records
- Personal Health Record
- Visit Summary
- Dental Treatment Plan
- Referrals
- Lab / Diagnostic
- Immunization History
- Documents
- Televisit Compatible
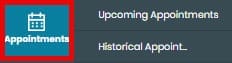
Appointments
- Upcoming Appointments
- Historical Appointments
Questionnaire
- Surgical and Allergies

Education
- Patient Education

Language change: The user can change the language of the screen to Spanish if they prefer.

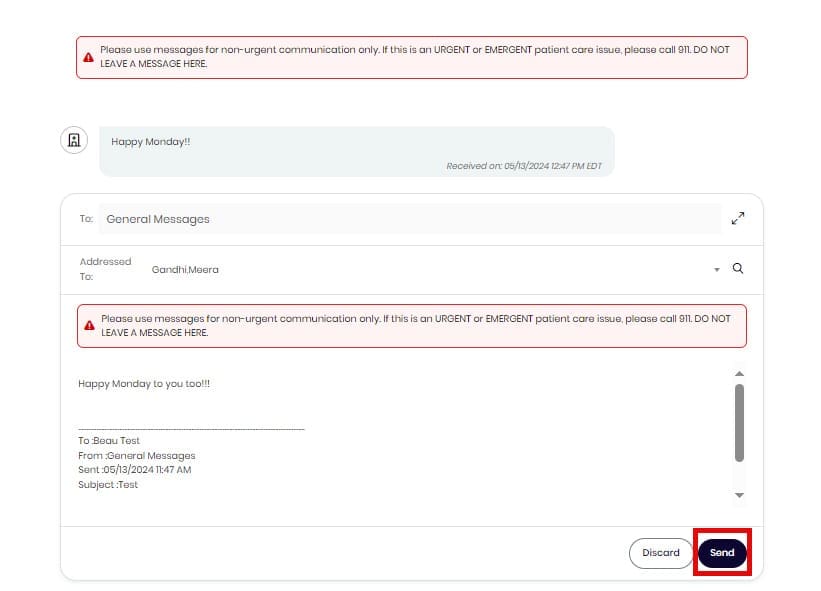
PATIENT PORTAL
Sending Messages
Messages contains an inbox to send an receive messages to the clinic.
Select the Provider you wish to send / reply to.
After typing your message, please click the Send button. This button will then be sent to the provider you selected into the system.